Guest Post: Aunt Apple’s Apples

My sister makes these delicious apple treats all the time for my kiddos (and everyone else). Think an awesome healthy version of an apple pie. Since they are such an unbelievable hit (they have even caused a name change ;)) we wanted to share them with you! Perfect time for the Autumn and Jewish Holidays too! My kids will eat these at any meal, any time of day! Enjoy!!!

apple6.jpg

apple4.jpg

Aunt Apple’s Apples

I’m Marisa’s sister Jillian, but my wonderful niece and nephew know me as Aunt Apple. I started making my special apple dessert about two years ago, and they love it so much, I give it to them for every family get-together. It’s vegan, very low fat, low sugar, low carb, high fiber, and most importantly, it’s delicious!

Ingredients:

  • 6 apples (I like using organic Fuji or Gala, but any type will do)
  • 1 tbsp of cinnamon
  • 1/4 cup of sugar
  • 1 tbsp of brown sugar
  • pinch of salt
  • 1/2 cup of raisins
  • 1 cup of Bisquick
  • 1/4 cup of butter flavored Crisco (or other vegan butter substitute)
  • 3 tbsp boiling water

The very first thing you want to do with this recipe is make the dough for the crust; the more time it has to hydrate, the easier it will be to work with. Mix the Bisquick with the Crisco and boiling water, then knead it all together. Wrap it tightly in plastic wrap and put it in the refrigerator.

The next step is to plump the raisins. You can do this really easily by microwaving the raisins for two minutes with half a cup of water, then draining whatever water is left. If you want the raisins to be even sweeter, you can use fruit juice instead of water to plump them.

Then, you take the apples and cut them in half horizontally. Then, using a sturdy melon baller, scoop out the core, making sure not to puncture the skin of the apple. After you’ve thrown away the core, use the melon baller to scoop out as much of the fruit as possible, and set it aside for the filling.

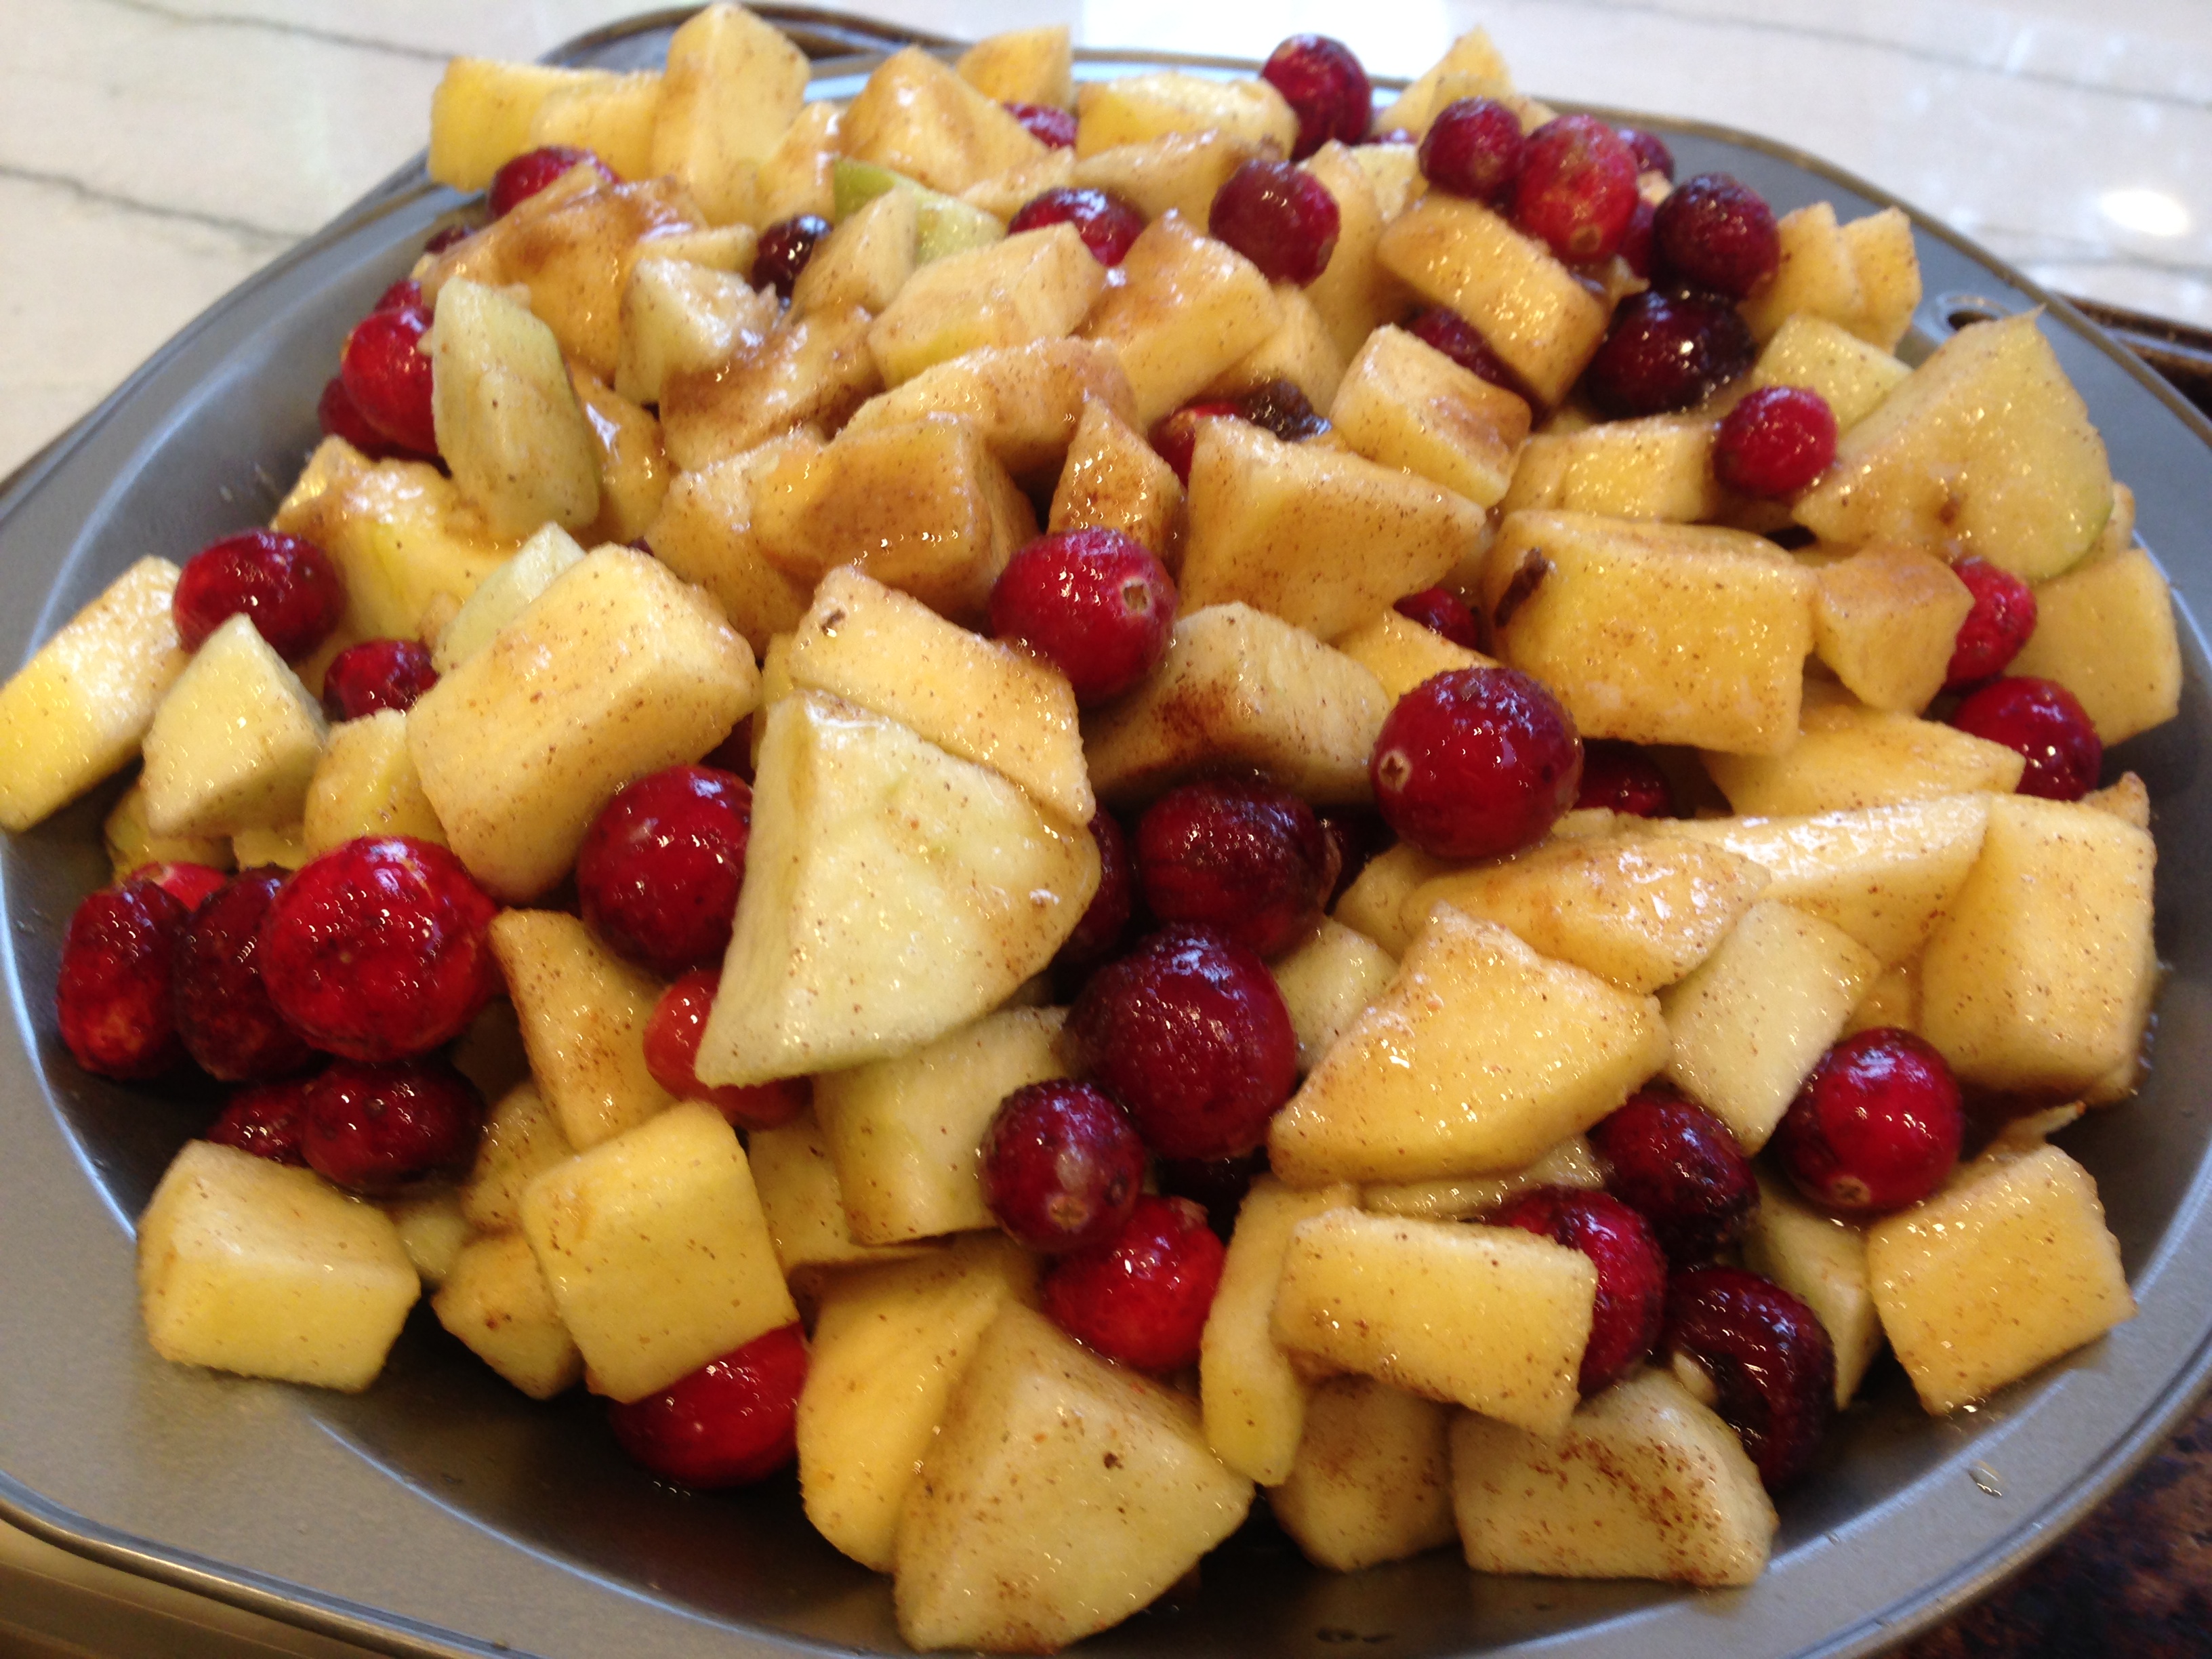
When you’ve hollowed out all the apples, roughly chop all the scooped out pieces, and mix them with the sugar, brown sugar, cinnamon, salt and raisins. Toss everything thoroughly to combine.

Now, fill each of the apple with the filling up to the brim.

(If you want to make your dessert gluten-free, your prep work is over, and you can just skip down to the baking specifications.)

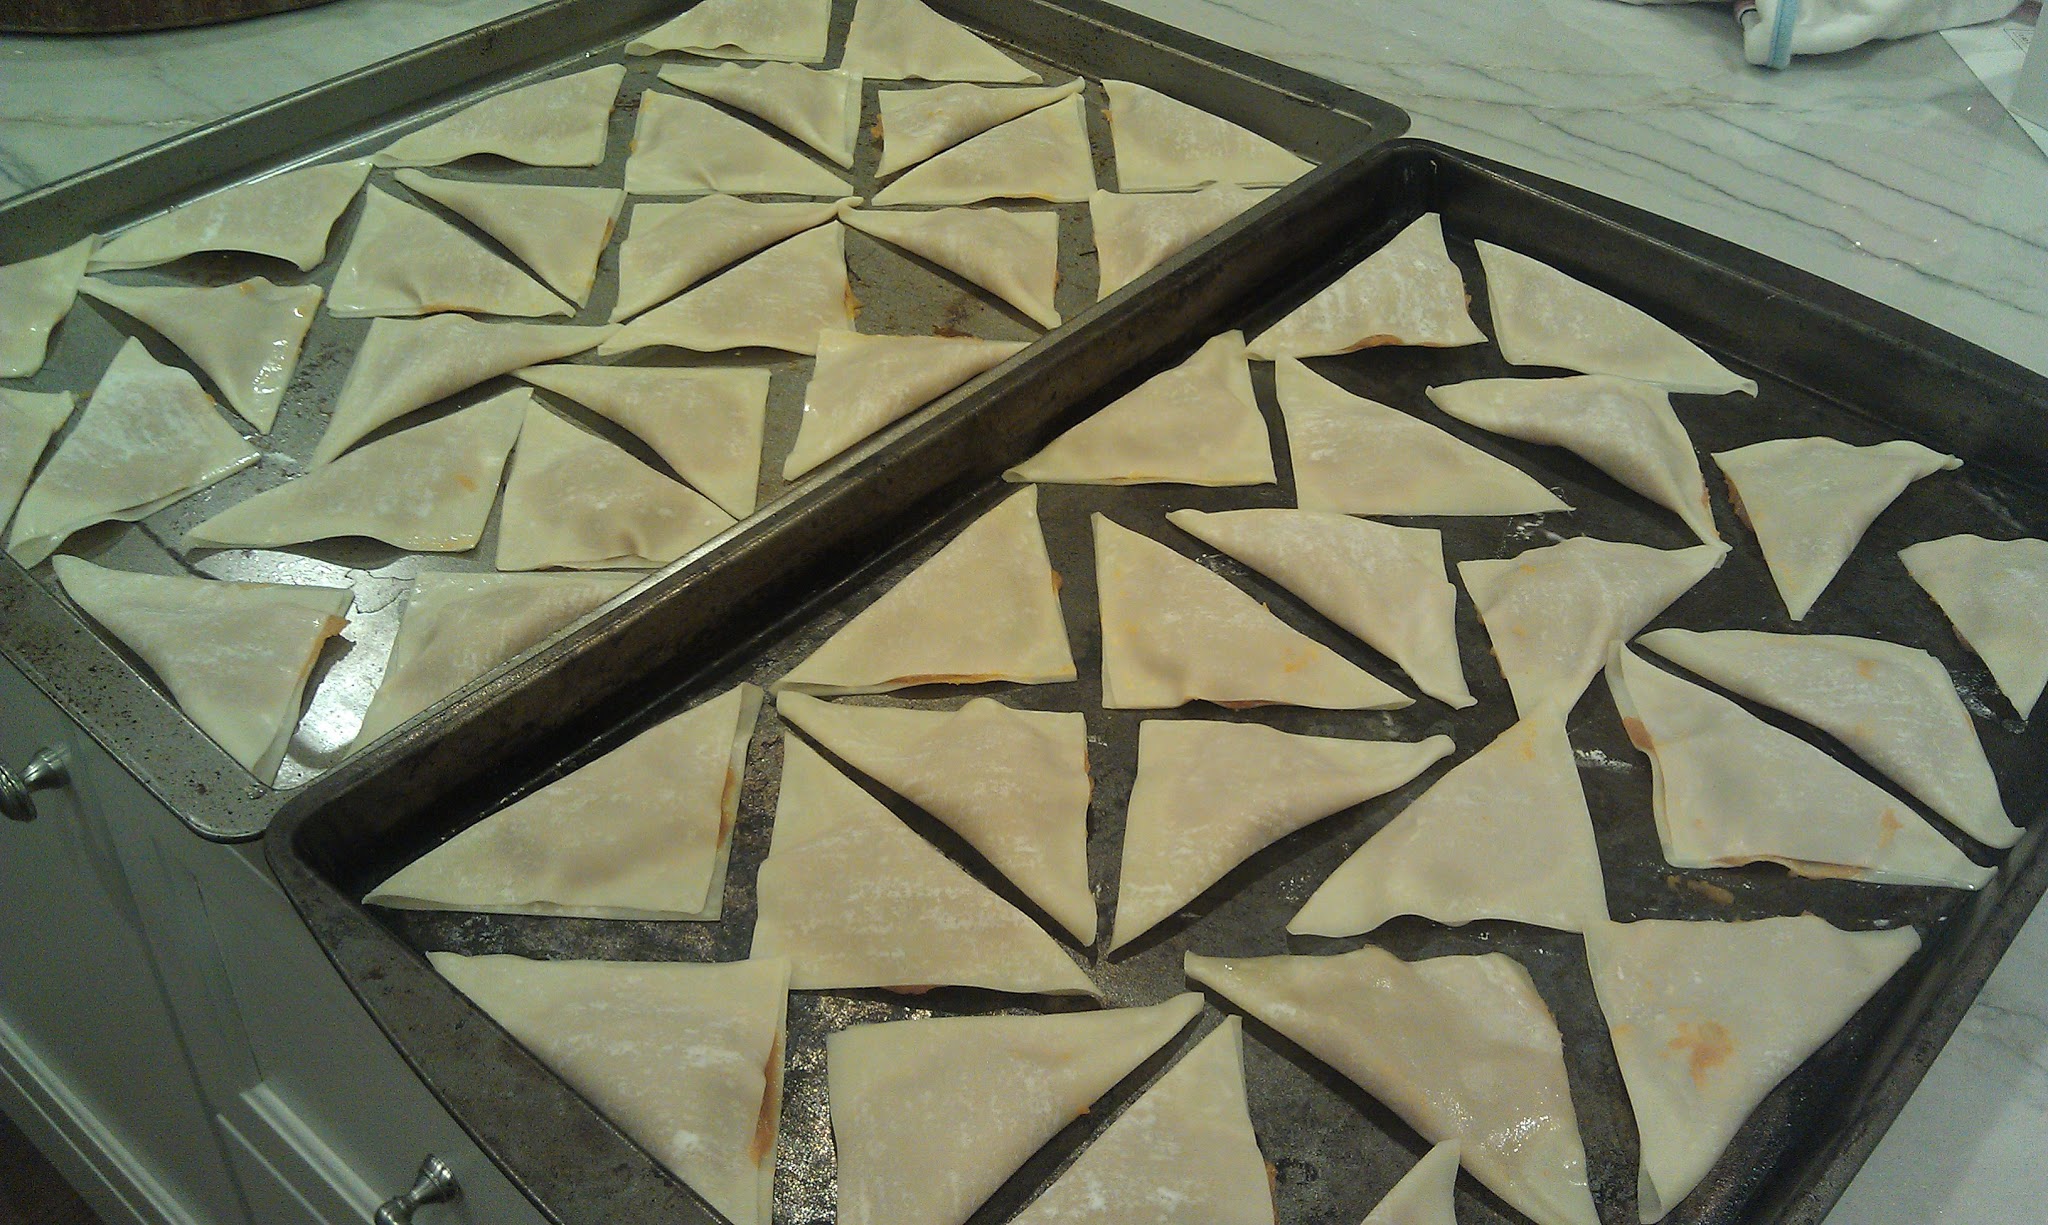
Next, take your chilled dough out of the fridge, and roll it out on a non-stick surface or a floured surface. Slice it into thin pieces about three inches long for your lattice crust. And then make a little hashtag on each apple half. Gently press the ends of each dough strip on to the apple.

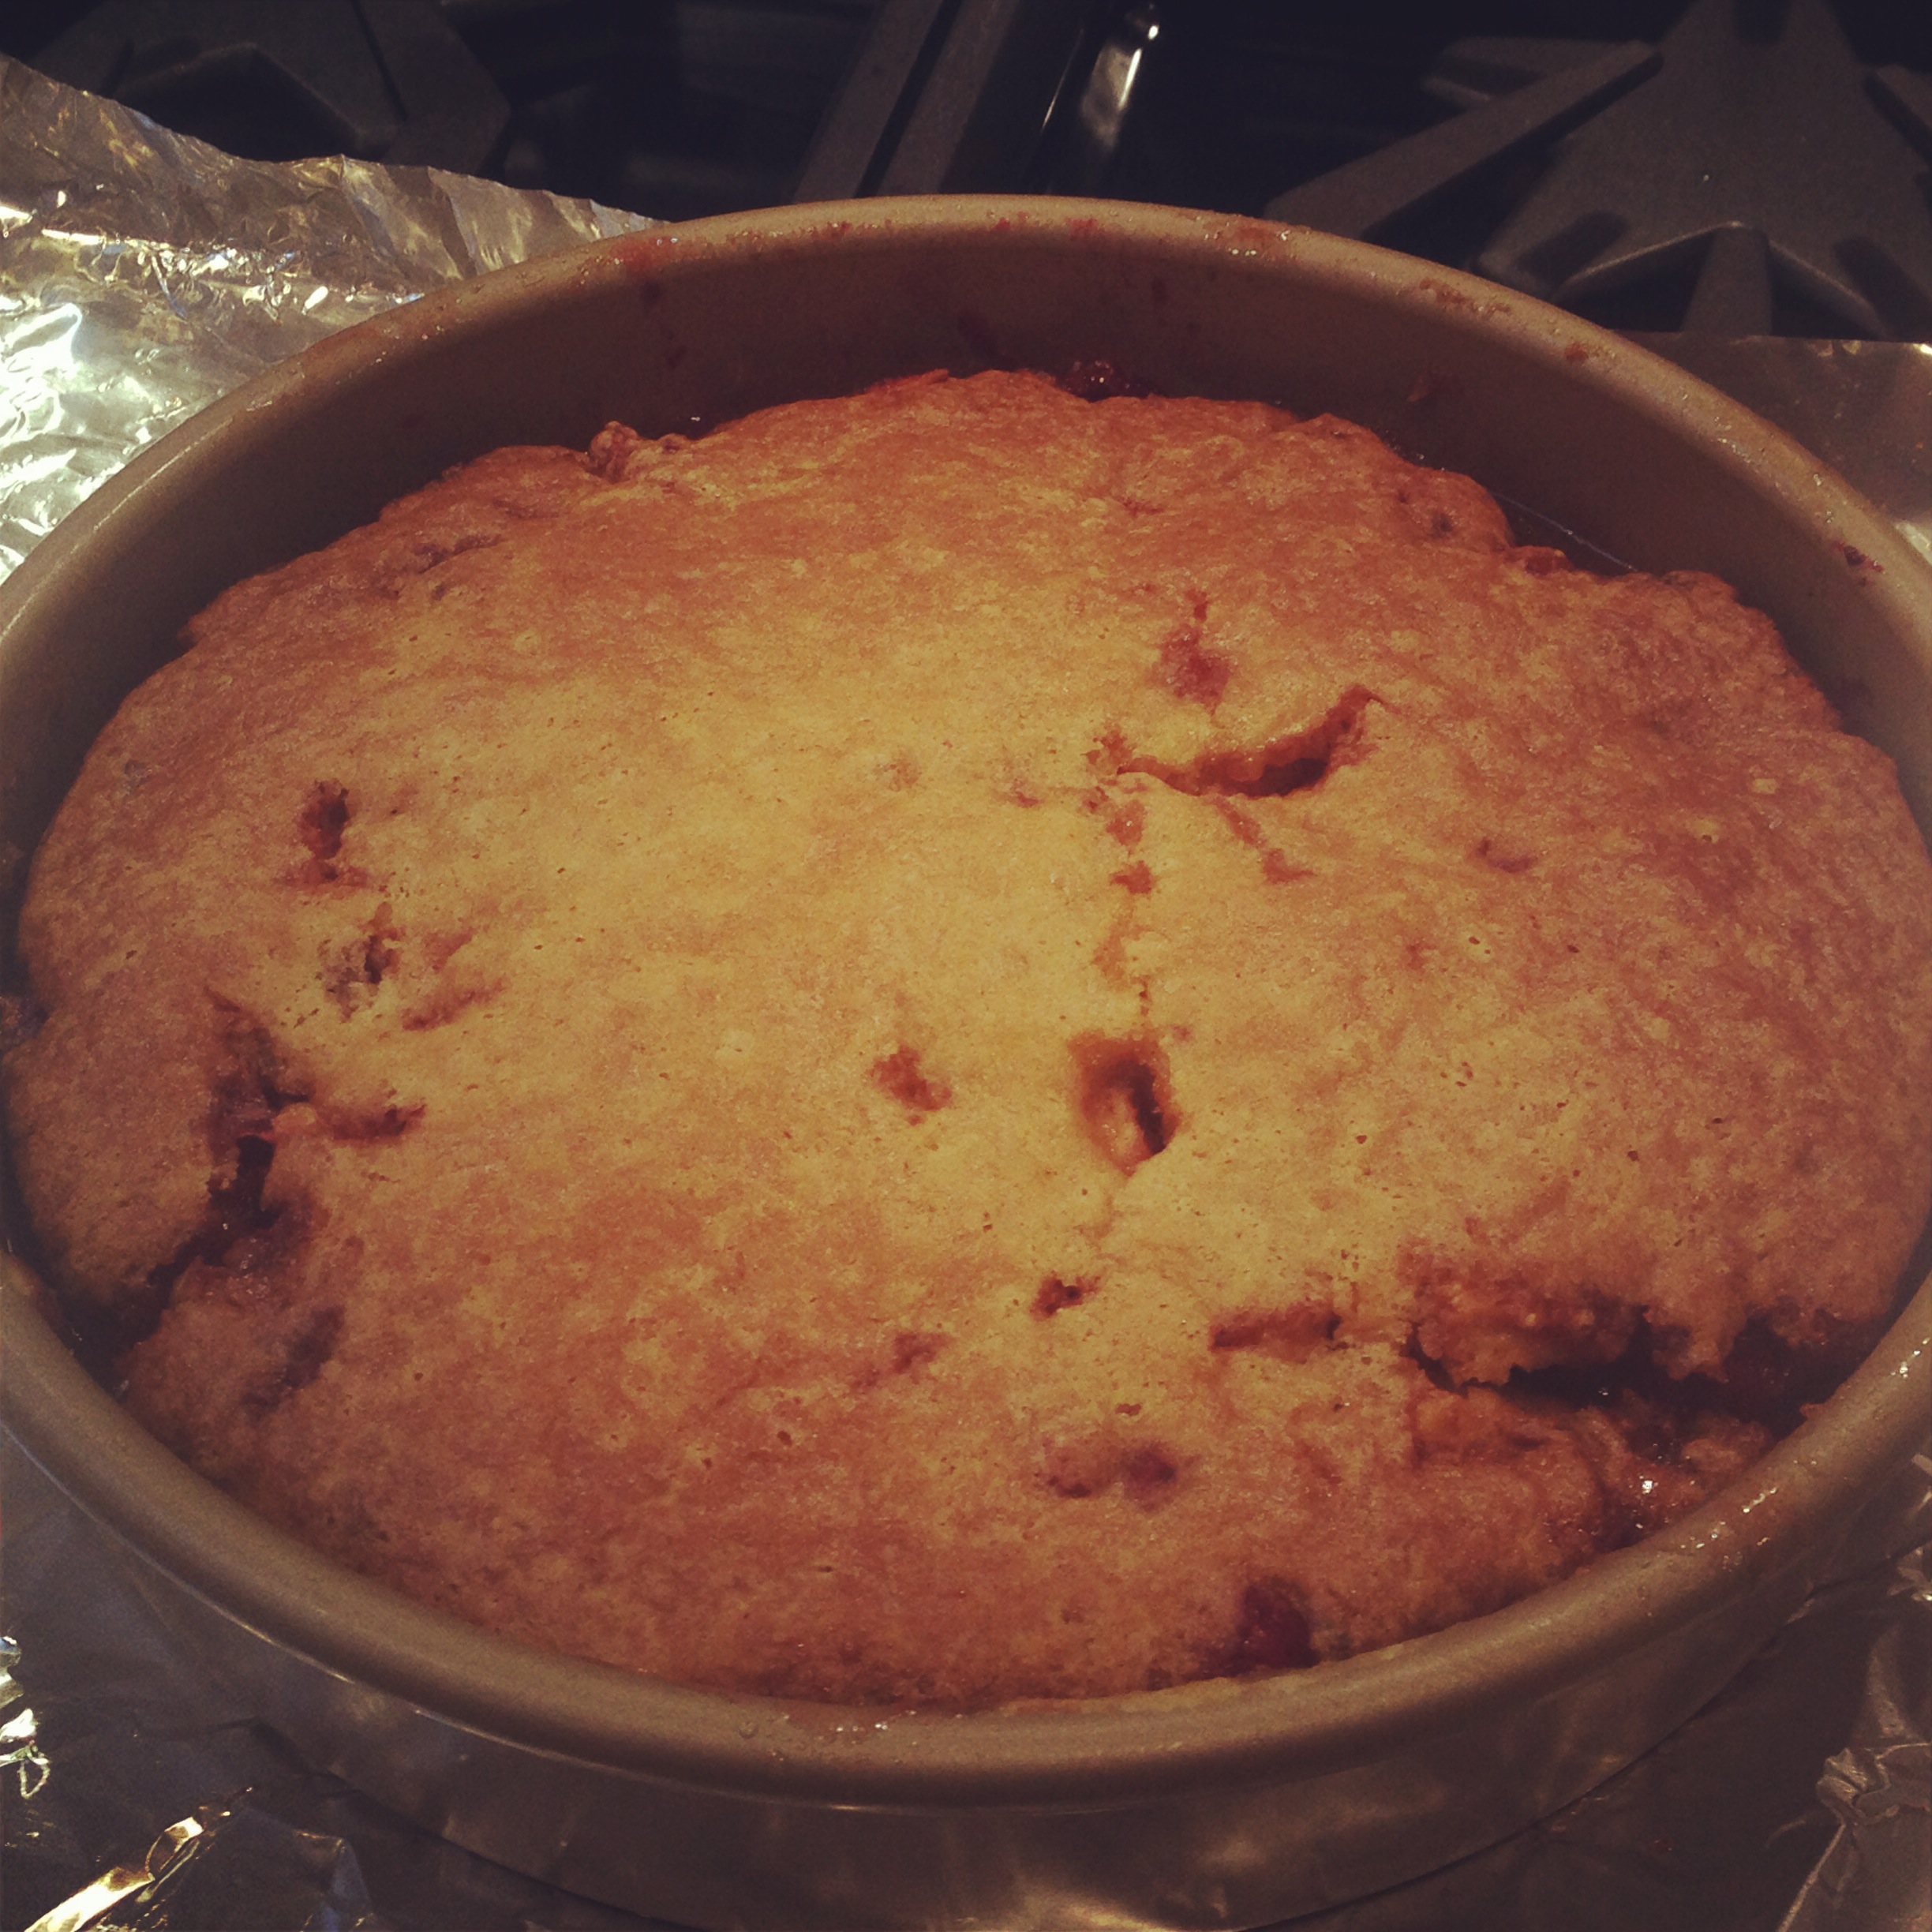
When these are all completed, put them in a casserole dish. Now, pour a tiny bit of water on the bottom of the dish between the pies, cover the whole thing with tin foil, and bake at 375 degrees for 20 minutes. Then uncover the pan, and cook the apples for another 20 minutes, or until the crust is nicely browned.

You now have your very own Aunt Apple’s Apples! There will probably be some water left at the bottom of the pan, so move those treats to another vessel, and enjoy!


Butternut Squash Potstickers

It was my MIL’s birthday so I wanted to come up with a special menu of her favorites. I know she loves Apples, Butternut Squash and Peanut Butter, so I thought those were good ones to start with. I made these potstickers, Apple Cider Caramel Dipped ApplesPeanut Butter Cookie Dough Bites and White Bean Dip and crudite & sliced toasted baguette. (recipes to come!!) YUM!!!

On Lisa Dawn’s site I found an awesome recipe for Butternut Squash Potstickers and knew we would all love them. It was no joke, these are amazing!!!! I used her recipe, the original (from Martha Stewart), added more fresh ginger and we all loved them. I doubled the recipe and made the whole batch while keeping half in the warming drawer to serve a little later. (not too much later as these went fast!!)  also used Lisa’s perfect dipping sauce. Perfection!

I had leftover filling and it was great as a pasta sauce and also for the babies, they LOVED it!

Butternut Squash Pot

Butternut Squash Potstickers
makes about 20 potstickers

1 pound butternut squash, peeled and seeded, flesh cut into 1/2-inch pieces
1/2 cup tamari
3 tablespoons packed brown sugar
2 scallions, white and green parts, thinly sliced
2 teaspoons grated peeled fresh ginger
20 vegan wonton wrappers, thawed if frozen
1/4 cup canola or sunflower oil
  1. Place squash, tamari and sugar in a saucepan.  Cover with water and bring to a boil. Cook until soft and drain. Mash with a potato masher or immersion blender until smooth. Add the scallions and ginger and mix to combine.
  2. Place 1 tablespoon filling in the center of each wrapper; brush edges with water. Bring up corners to make a triangle; press to seal. Place on a baking sheet; freeze until firm, 10 to 15 minutes.
  3. Heat 2 tablespoons oil in a large nonstick skillet over medium heat until hot but not smoking. Add 10 potstickers, and cook, shaking pan frequently, until bottoms are golden brown. Turn pot stickers over; very carefully (holding the lid in front of you) pour in 1/2 cup water, and cover. Steam until most liquid is evaporated, 2 to 3 minutes. Transfer to a serving dish and repeat with remaining oil and pot stickers. Serve with dipping sauce.

Lisa’s Dipping Sauce
1/4 cup tamari
2 tablespoons rice vinegar
1 teaspoon toasted sesame oil
1 scallion, sliced thinly

IMAG1494

Butternut Squash Filling

Butternut Squash Filling

Filling as a pasta sauce

Filling as a pasta sauce

Thanksgiving: Vegan Apple Cranberry Cobbler

My husband’s favorite dessert ever is cobbler so it was pretty easy to decide what to make when we had so many CSA apples and cranberries! It was super deelish!!!

Have a wonderful and gentle Thanksgiving!!!

Image

Round 1: I used a pie pan. Loved the height but was so happy I used the baking sheet underneath!


Round 2: I used a cake pan so it wasn't as high up but barely made a mess :)

Round 2: I used a cake pan so it wasn’t as high up but barely made a mess 🙂

Apple Cranberry Cobbler  

Filling:
4 apples, peeled and chopped
2 cup cranberries
1/3 cup white sugar
1/4 cup brown sugar
1/2 teaspoon ground cinnamon
1/8 teaspoon nutmeg
2 teaspoons cornstarch
juice of 1 lemon
dash of salt

8 tablespoons non-dairy butter (we used earth balance)

For the Cobbler Topping:
3/4 cup non-dairy milk (we used almond milk)
1 cup flour
1/2 cup sugar
2 teaspoons baking soda
dash of salt

  1. Preheat oven to 350 degrees
  2. Combine the Cobbler Filling ingredients in a large bowl.
  3. In a separate bowl, whisk together the topping ingredients.
  4. Melt the butter in a pie dish in oven. Remove from oven and fill with the filling. Pour topping over the fruit.
  5. Bake for approximately 1 hour (helpful to use a cookie sheet underneath to avoid a mess!), or until the juices are bubbling and the cobbler is golden.

Image

Chocolate Chip Cookie Dough Mini-Muffins

We went to an awesome Valentine’s Day Brunch with some lovely mamas and kiddos 🙂 This was a perfect treat to bring! Bite-sized deliciousness and no one knew (or believed me!) that these were really made from great ingredients like garbanzo beans and applesauce. They are low-fat and protein-rific, yet still have that fun chocolate bite! Plus they are super simple. I bet these would be great fun baking with the kids! (just make sure to save some for your husband! Mine LOVED them!!)

Happy Valentine’s Day!!

Chocolate Chip Cooki

Chocolate Chip Cookie Dough Mini-Muffins
recipe from http://vegnews.com
Makes 24 mini muffins (I doubled the recipe and had 39 mini muffins)

  • 1/2 cup quick-cooking oats
  • 1 15-ounce can garbanzo beans, drained and rinsed
  • 2 tablespoons applesauce
  • 1-1/2 tablespoons vegetable oil
  • 1/2 tablespoon vanilla
  • 1/4 teaspoon baking soda
  • 1/4 teaspoon salt
  • 1 teaspoon baking powder
  • 3/4 cup brown sugar
  • 1/2 cup vegan chocolate chips

1. Preheat oven to 350 degrees and grease mini-muffin pan or cookie sheet. In a food processor, process oats, garbanzo beans, applesauce, vegetable oil, vanilla, baking soda, salt, baking powder, and brown sugar until completely smooth.

2. In a medium bowl, combine batter and chocolate chips. Into mini-muffin pan, scoop dough. Bake for 13 to 15 minutes. Let cool for 10 minutes before removing from muffin pan.

Batter ready to bake!

Batter ready to bake!

Muffins resting/cooling

Muffins resting/cooling

Zucchini Chocolate Chip Cookies

Of course I love all things veggie but sometimes and for some people you have to sneak them in there. So this is a great dessert recipe that also has a bunch of zucchini hidden inside 🙂  These taste just like chocolate chip cookies – YUM – but with a great added bonus! I am sure by the time my little kiddos are ready to eat cookies they will already be super veggie lovers, but I still think, why not have the extra fiber and veggies in there 🙂

Zucchini Chocolate Chip Cookies
2 1/2 dozen cookies

Wet Ingredients
1 Ener-G Egg Replacer
1/2 cup earth balance
1/2 cup brown sugar
1/3 cup agave
1 tablespoon vanilla extract
Dry Ingredients
1 cup white flour
1 cup whole wheat flour
1/2 tsp baking soda
1/4 tsp salt
1/4 tsp cinnamon
1/4 tsp nutmeg

1-2 cup finely shredded zucchini (I like to use more, as it is a great way to sneak a veggie into a dessert!)
12 oz chocolate chips..vegan

  1. Pre-heat oven to 350 Degrees.
  2. Combine wet ingredients in a medium sized bowl.
  3. Combine dry ingredients in a large bowl.
  4. Combine zucchini and chocolate chips into the wet ingredients and blend well.
  5. Mix all ingredients together and mix well.
  6. Drop by spoonful (I love to use a small ice cream scooper) onto greased baking sheet or silicon baking sheet, and flatten with the back of a spoon.
  7. Bake for 13- 15 minutes.
  8. Cool on a rack and enjoy!

%d bloggers like this: