10 Sep 2015
by marisashealthykitchen
in Uncategorized
Tags: apple pie, Apples, Aunt Apple's, Aunt Apple's Apples, baked apples, breakfast, brown sugar, cinnamon, comfort food, dessert, entertaining, Fuji, Gala, high fiber, jewish, low-carb, low-fat, low-sugar, raisins, rosh hashana, snack, sugar, vegan, vegan apple pie, vegetarian, vegetarian apple pie
My sister makes these delicious apple treats all the time for my kiddos (and everyone else). Think an awesome healthy version of an apple pie. Since they are such an unbelievable hit (they have even caused a name change ;)) we wanted to share them with you! Perfect time for the Autumn and Jewish Holidays too! My kids will eat these at any meal, any time of day! Enjoy!!!


Aunt Apple’s Apples
I’m Marisa’s sister Jillian, but my wonderful niece and nephew know me as Aunt Apple. I started making my special apple dessert about two years ago, and they love it so much, I give it to them for every family get-together. It’s vegan, very low fat, low sugar, low carb, high fiber, and most importantly, it’s delicious!
Ingredients:
- 6 apples (I like using organic Fuji or Gala, but any type will do)
- 1 tbsp of cinnamon
- 1/4 cup of sugar
- 1 tbsp of brown sugar
- pinch of salt
- 1/2 cup of raisins
- 1 cup of Bisquick
- 1/4 cup of butter flavored Crisco (or other vegan butter substitute)
- 3 tbsp boiling water
The very first thing you want to do with this recipe is make the dough for the crust; the more time it has to hydrate, the easier it will be to work with. Mix the Bisquick with the Crisco and boiling water, then knead it all together. Wrap it tightly in plastic wrap and put it in the refrigerator.
The next step is to plump the raisins. You can do this really easily by microwaving the raisins for two minutes with half a cup of water, then draining whatever water is left. If you want the raisins to be even sweeter, you can use fruit juice instead of water to plump them.
Then, you take the apples and cut them in half horizontally. Then, using a sturdy melon baller, scoop out the core, making sure not to puncture the skin of the apple. After you’ve thrown away the core, use the melon baller to scoop out as much of the fruit as possible, and set it aside for the filling.
When you’ve hollowed out all the apples, roughly chop all the scooped out pieces, and mix them with the sugar, brown sugar, cinnamon, salt and raisins. Toss everything thoroughly to combine.
Now, fill each of the apple with the filling up to the brim.
(If you want to make your dessert gluten-free, your prep work is over, and you can just skip down to the baking specifications.)
Next, take your chilled dough out of the fridge, and roll it out on a non-stick surface or a floured surface. Slice it into thin pieces about three inches long for your lattice crust. And then make a little hashtag on each apple half. Gently press the ends of each dough strip on to the apple.
When these are all completed, put them in a casserole dish. Now, pour a tiny bit of water on the bottom of the dish between the pies, cover the whole thing with tin foil, and bake at 375 degrees for 20 minutes. Then uncover the pan, and cook the apples for another 20 minutes, or until the crust is nicely browned.
You now have your very own Aunt Apple’s Apples! There will probably be some water left at the bottom of the pan, so move those treats to another vessel, and enjoy!
17 May 2015
by marisashealthykitchen
in Vegan Recipes, Vegetarian Recipes
Tags: almond milk, apple, apple sauce, breakfast, cinnamon, comfort food, flour, pancakes, quick and easy, sugar, vanilla, vegan, vegetarian
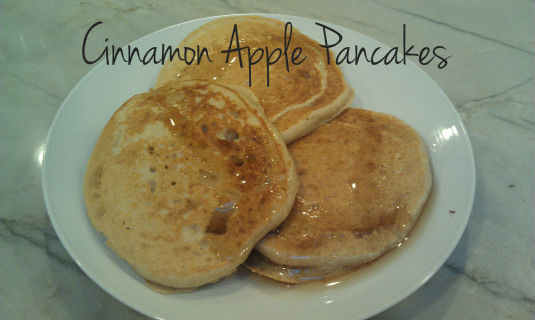
We have been all about weekend pancakes lately and are always all about apples! And seriously who doesn’t love pancakes!! These were super easy and quick to whip up. Just had the urge and then 20 minutes later we were all eating pancakes.

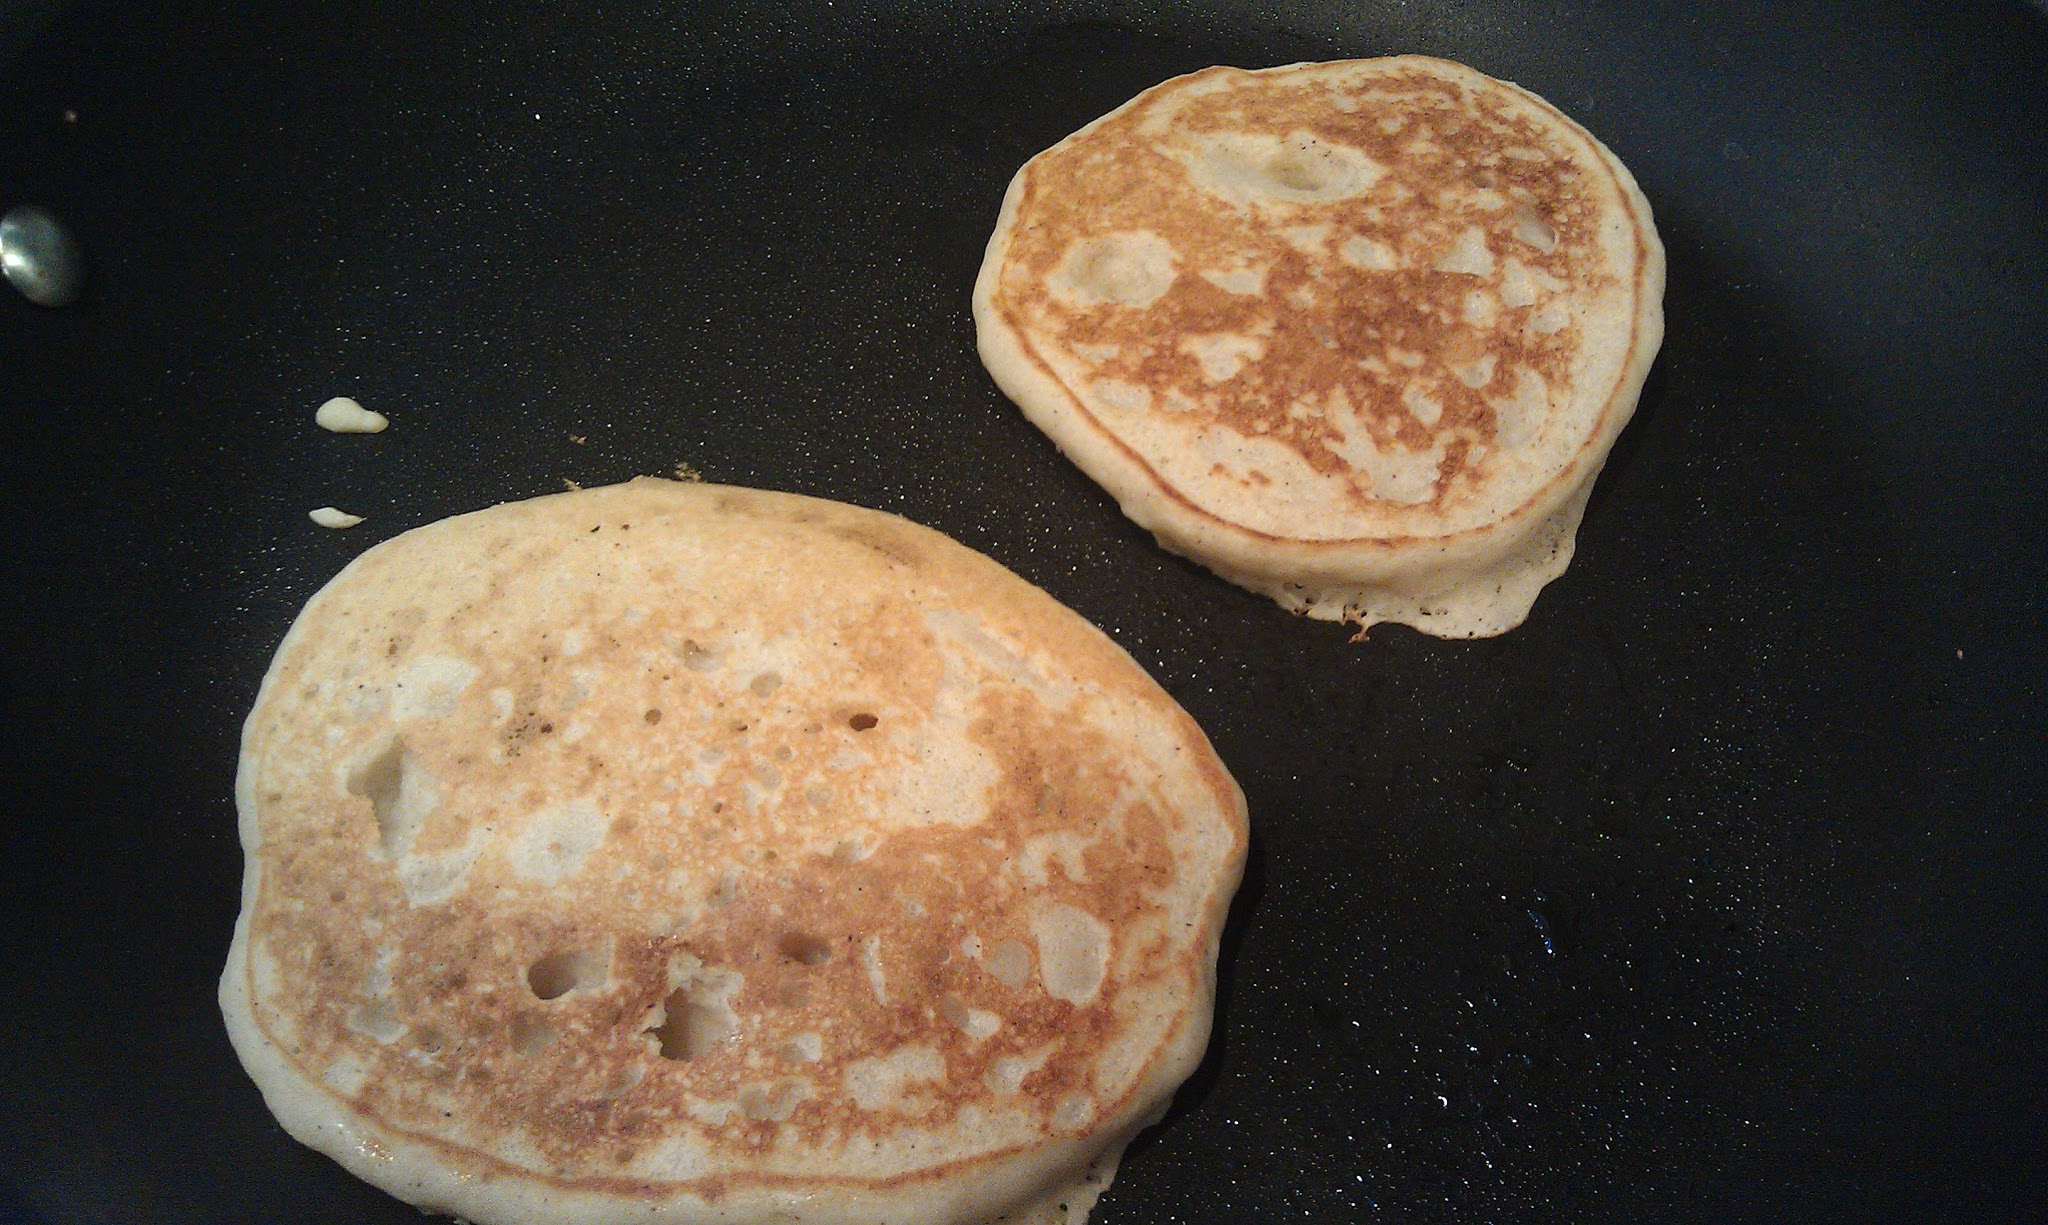
Cinnamon Apple Pancakes
Makes 12-15 pancakes
2 cups flour
4 teaspoons baking powder
1/2 teaspoon salt
2 tablespoons sugar
1/2 – 1 teaspoon cinnamon
1 cup water
1 cup almond milk (or any non-dairy milk)
1/2 cup applesauce
1/4 teaspoon vanilla extract
- Combine dry ingredients, then add the rest and mix well
- Spoon batter (~ 2 tablespoons) onto a hot griddle. Cook until pancakes have a bubbly surface and slightly dry edges (1-2 minutes). Flip pancakes and let cook for an additional 1-2 minutes until golden.
- Serve with Maple Syrup and Enjoy 🙂

29 Jan 2015
by marisashealthykitchen
in Vegan Recipes, Vegetarian Recipes
Tags: almond milk, apple cider vinegar, baking powder, baking soda, breakfast, cocoa powder, dark chocolate chips, dessert, flax egg, flour, ground flax, maple syrup, quick and easy, salt, snack, sugar, vanilla extract, vegan, vegan egg, vegan muffins, vegetarian, walnut, whole wheat pastry flour, zucchini
Crazy Blizzard prep! Been playing inside all day, what else to do! Bake 🙂 I love to cook & bake with my kiddos. It can often be twice my mess, sometimes involves a meltdown or 2 but it really is fun and I love teaching them about their food. We wanted to bake but I still wanted to keep it healthy. Thank you Oh She Glows for these Oil-Free Chocolate Zucchini Walnut Muffins! They were super excited to make (and eat!) muffins! We loved grating the zucchini together and measuring all the ingredients.
I used twice the zucchini so ended up with 10 mini muffins on top of the dozen full size ones. But my kiddos loved the “baby muffins” too.

Oil-Free Chocolate Zucchini Walnut Muffins
Recipe adapted from Oh She Glows
Yield: 1 dozen muffins
- 1 flax egg (1 tbsp ground flax + 3 tbsp water)
- 1 & 1/4 cup lightly packed shredded zucchini, skin left on (I doubled this)
- 1 & 1/4 cup almond milk
- 2 tsp apple cider vinegar (or lemon juice)
- 3 tbsp pure maple syrup
- 1 tsp vanilla extract
- 2 cups whole wheat pastry flour (or all-purpose) (I used 1 1/4 WW Flour and 3/4 cup AP)
- 1/3 cup cocoa powder
- 1 tbsp baking powder
- 1 tsp baking soda
- 1/2 tsp fine grain sea salt
- 1/2 cup cane sugar
- 1/3 cup dark chocolate chips (I used Enjoy Life mini chips)
- 2/3 cup walnuts, chopped
1. Preheat oven to 350F and lightly spray muffin with oil or grease with Earth Balance.
2. Mix flax egg in a small bowl and set aside. Grate zucchini using a grater box (regular grate size). Set aside.
3. Mix almond milk and apple cider vinegar (or sub fresh lemon juice) in a small bowl and set aside. It will curdle, but this is the point as we’re making vegan buttermilk.
4. In a large mixing bowl, mix together the dry ingredients (flour, cocoa powder, baking powder, baking soda, salt, and sugar).
5. Mix together the wet ingredients (flax egg, almond milk mixture, maple syrup, and vanilla) and then pour over dry ingredients. Stir until just combined. Fold in the chocolate chips, walnuts, and shredded zucchini.
6. Spoon batter into prepared muffin tin filling each tin 3/4 of the way full. Bake for about 15-17 minutes at 350F, or until muffins slowly spring back when touched. A toothpick should come out mostly clean. Cool in tin for 5 minutes. With a knife, loosen around the muffin edge and transfer to a cooling rack until completely cool. (Mine took a bit longer because double the zucchini made it a little more moist, so took about 5 extra minutes to bake)
08 Sep 2014
by marisashealthykitchen
in Vegan Recipes, Vegetarian Recipes
Tags: apple sauce, baking soda, banana bread, Banana-Butternut-Pecan Bread, bananas, bread, breakfast, butternut squash, butternut squash bread, Butternut-Pecan, cinnamon, dessert, dessert bread, entertaining, flour, grapeseed oil, molasses, non-dairy milk, overripe bananas, pecan, pecan bread, squash bread, sugar, vegan, vegan banana bread, vegan bread, vegan dessert, vegetarian, VeggieGirl
Anything that I have ever made from VeggieGirl’s site always comes out super awesome! I figured as much when I doubled the recipe to make 2 loaves of this awesome dessert bread! It came out deelish and the second loaf froze great for later use 🙂
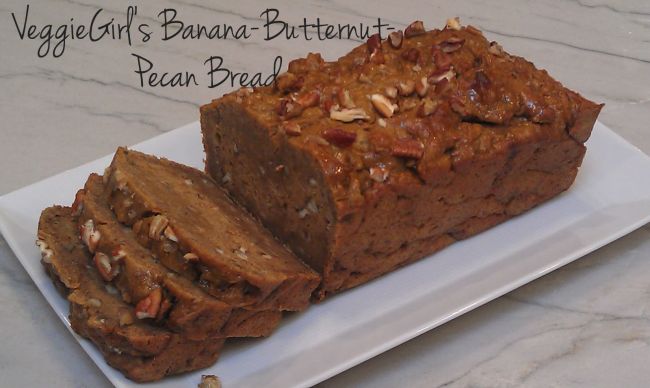
VeggieGirl’s Banana-Butternut-Pecan Bread
(**Adapted from the Lower-Fat Banana Bread recipe in the Veganomicon cookbook**)
- 3 overripe bananas
- 2 cups steamed butternut squash cubes
- 1/4 cup applesauce
- 1/4 cup grapeseed oil
- 1/2 cup sugar
- 2 teaspoons molasses
- 2 cups flour
- 3/4 teaspoon baking soda
- 1/2 teaspoon ground cinnamon
- 1 cup pecans, crushed (**plus more for sprinkling on top of the batter at the end)
- Nondairy “milk” of choice, added to the batter as needed
Preheat the oven to 350°F (180°C). Lightly coat a 9″x5″ loaf pan with nonstick cooking spray.
In a large bowl, thoroughly mash three of the bananas along with the steamed squash. Then, add in the applesauce, grapeseed oil, turbinado sugar, and molasses. Mix well.
In the same bowl, add in the flour, baking soda, cinnamon, and pecan pieces. As the mixture starts to thicken up/combine, add as much nondairy “milk” as you need (but not too much) so that the batter is mixable.
Pour mixture into the 9″x5″ loaf pan (coated generously with nonstick cooking spray), sprinkling some more pecan pieces on to of the batter (press them lightly into the batter so that they will stick better).
Bake for about 60 minutes, until a toothpick inserted in the center of the loaf comes out clean.
27 Aug 2014
by marisashealthykitchen
in Vegan Recipes, Vegetarian Recipes
Tags: basil, broccoli, carrots, comfort food, corn, corn cob, crushed tomatoes, cumin, dried basil, fresh basil, garlic, greek yogurt, olive oil, onions, oregano, pasta, Pasta Sauce, sauces, soy yogurt, sugar, tomato sauce, Tomato-Vegetable Pasta Sauce, vegan, vegetarian, yogurt
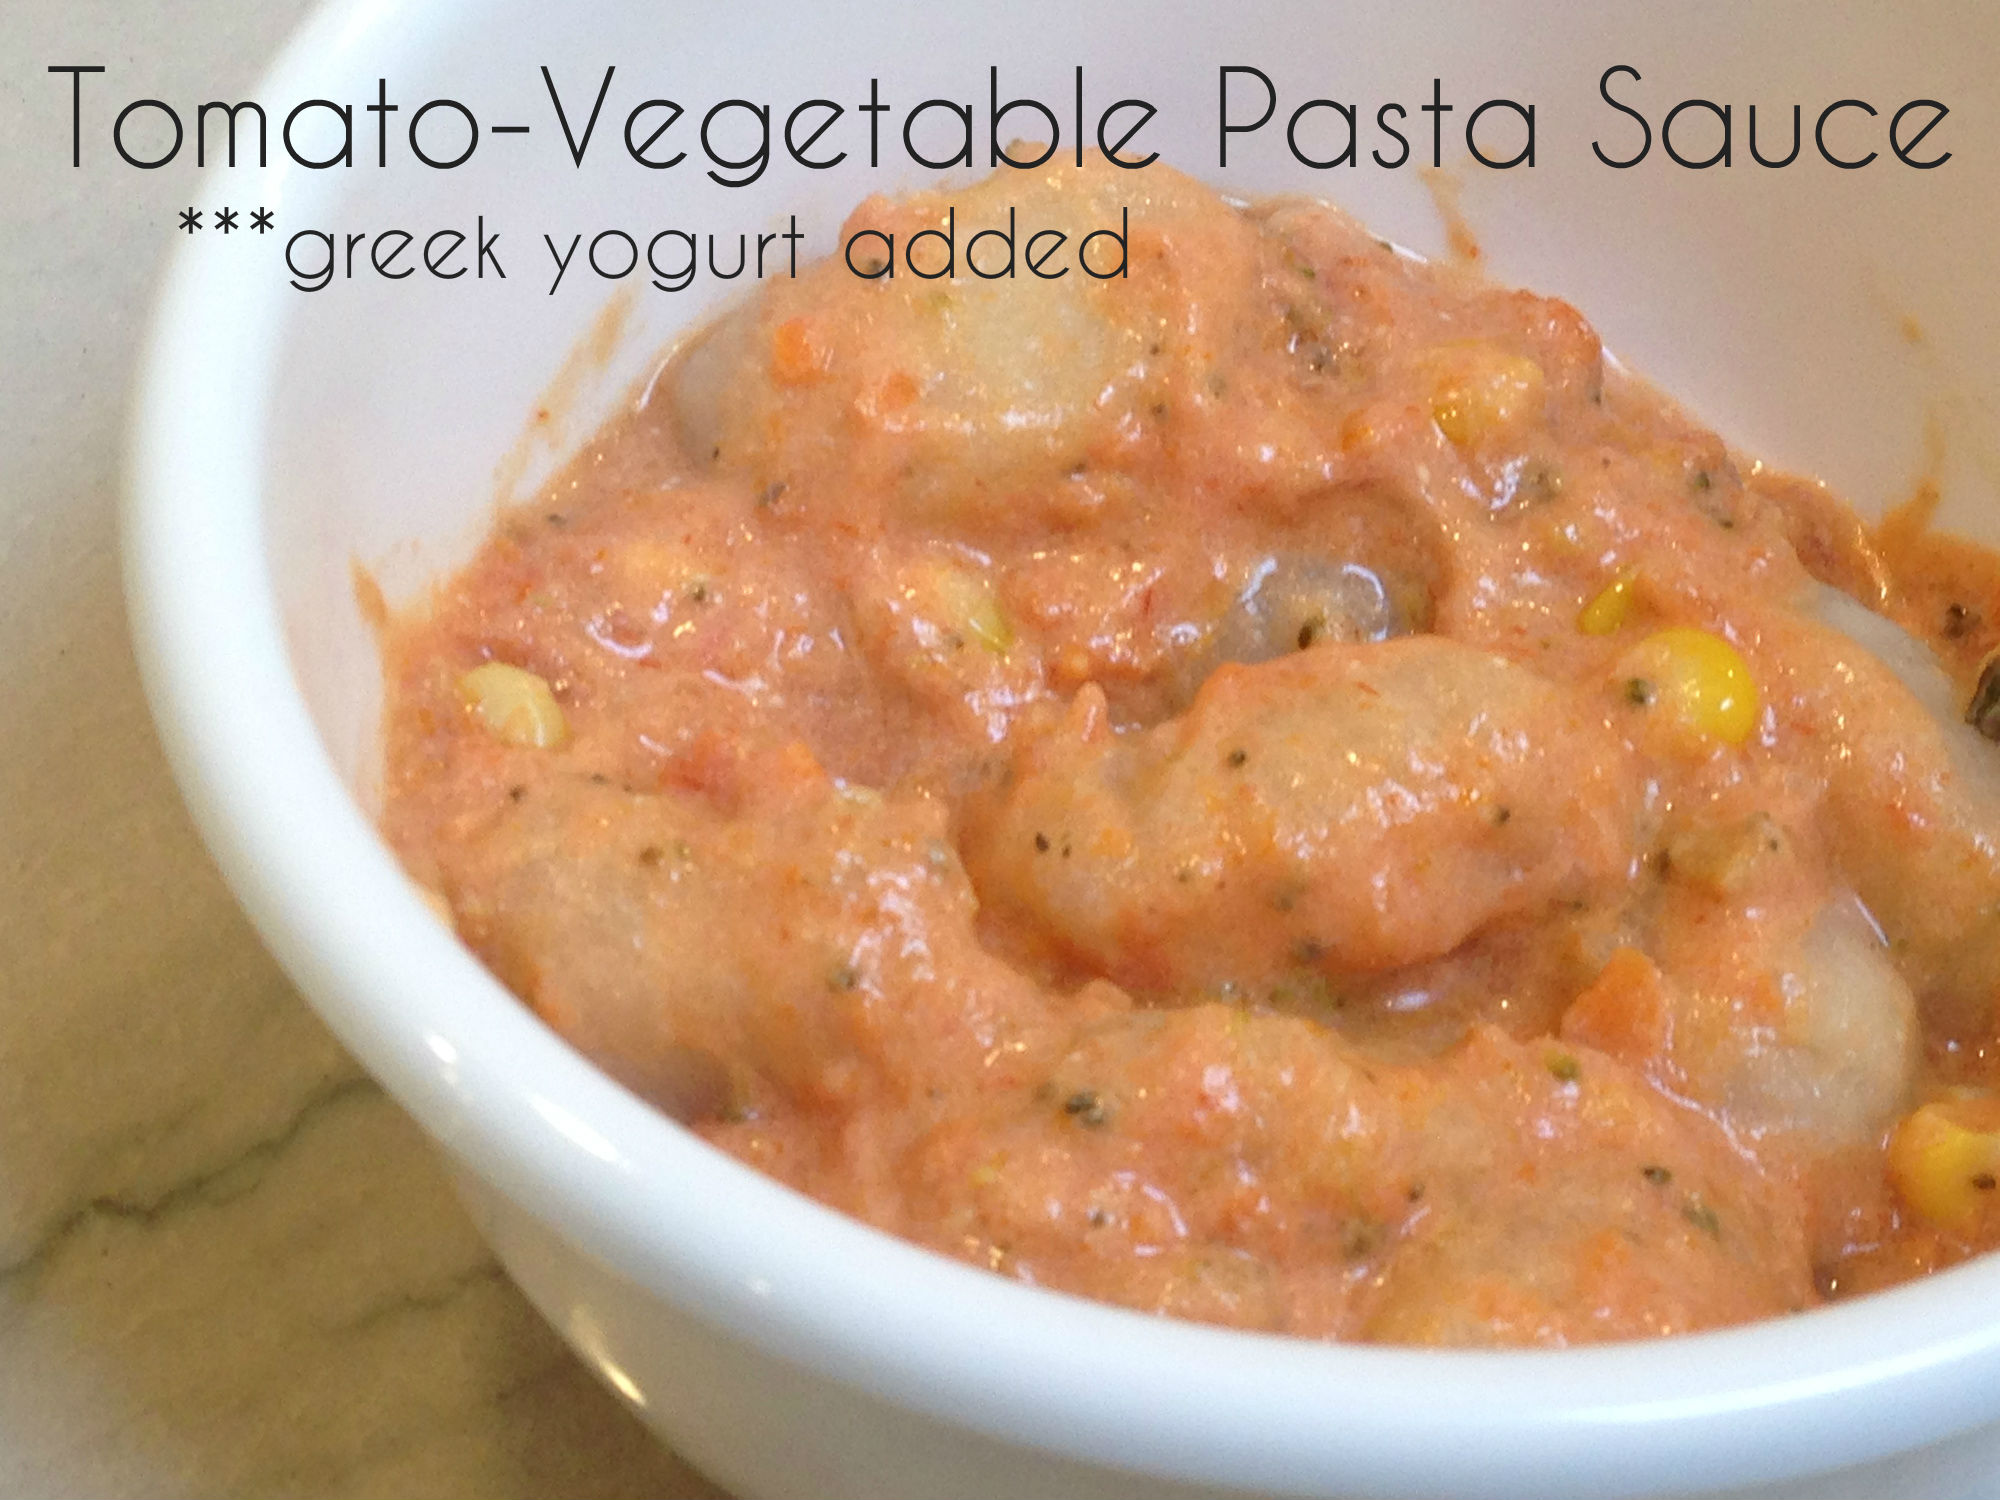
This is a basic outline for creating a quick sauce that includes lots of veggies and can be done with most of the veggies you happen to have in your home. We used onions, broccoli, carrots and corn but I bet cauliflower, peas, squash, spinach, eggplant, peppers and mushrooms would all work great! 🙂 Perfect for CSA’s! We chopped all the veggies up small as we were using a food processor for the fun of pushing buttons. The kiddos were LOVING this and the before and after veggies, but this also helped everyone eat more veggies too! Love that! Super easy and fun to make your own sauce! Enjoy!!!


Tomato-Vegetable Pasta Sauce
1 can 28 ounce crushed tomatoes
2 onions, chopped (or in our case in food processor, the kiddos LOVED to press the buttons)
1 cup broccoli, chopped
1 cup carrots, chopped
2 ears of corn, cut from cob
1 tablespoon of sugar
bit of fresh basil, cut (we only had a bit but you can add more if you have it!)
3 tablespoons of olive oil
dash of dried basil (I only had a little bit of fresh basil, so wanted to add a bit more)
dash of oregano
2 teaspoons of salt
dash of garlic powder
dash of cumin
1 lb pasta (we used gnocchi tonight, but that is just because the kids pulled it out of the pantry and requested :))
*(optional) greek or soy yogurt
1. Heat 1 tablespoon of olive oil and cook onions for 5 minutes. Add broccoli and carrots and cook stirring occasionally another 5 minutes. Add the crushed tomatoes, corn, sugar, 2 tablespoons of olive oil, and spices (reserving the fresh basil till 5 minutes before serving).
2. Simmer for a few minutes or up to a half hour depending on when your pasta is done or when you want to serve dinner 🙂
3. While sauce is simmering cook the pasta and combine when done.
*Optional – add greek or soy yogurt to the sauce for extra creaminess.
05 Jan 2014
by marisashealthykitchen
in Home Cooking, Vegan Recipes, Vegetarian Recipes
Tags: apple cider vinegar, Barbeque, barbeque sauce, Barbeque Seitan, bbq, chili powder, comfort food, Creamy Polenta, garlic, grits, mustard, onion, peanut butter, polenta, red pepper, sauces, seitan, sides, sugar, tamari, tomato sauce, vegan, vegetarian
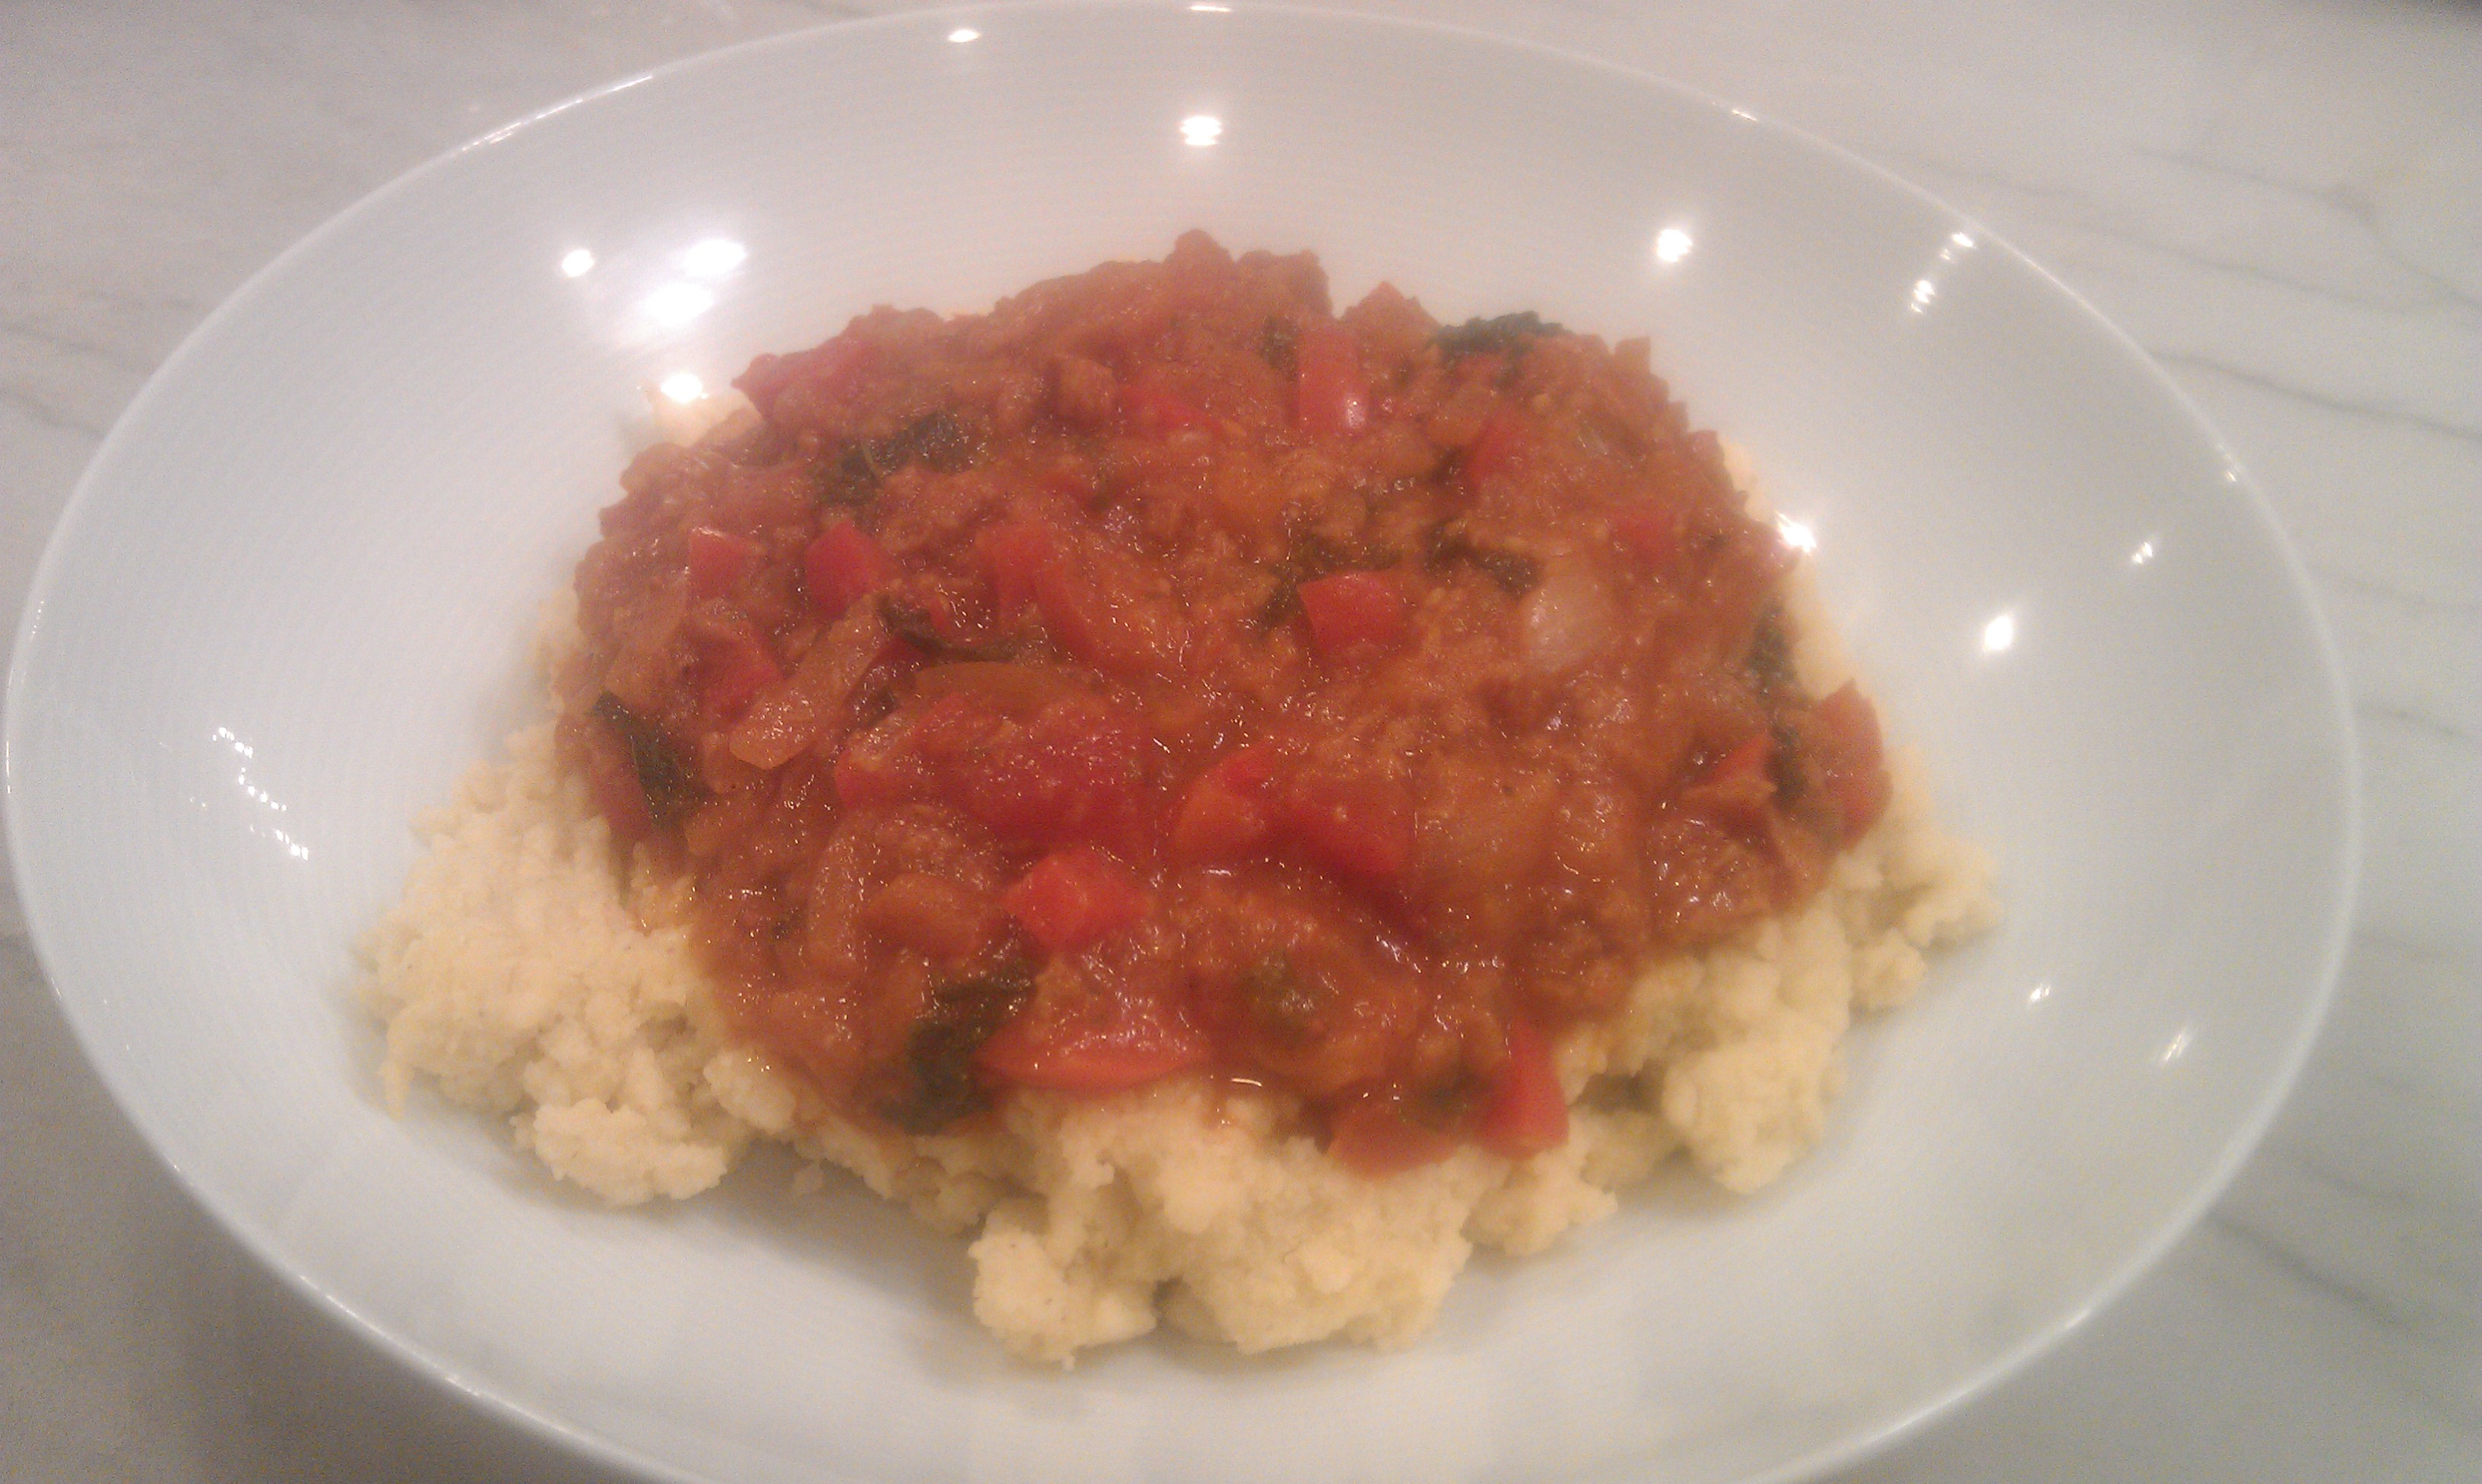
As you know we LOVE polenta over here 🙂 What is not to love; creamy, smooth corn goodness! And what makes this even better is a deelish, hearty sauce over top 🙂
Just a couple of past polenta dishes: Vegan Creamy Polenta with Sausage and Peppers, Mushroom and Kale Polenta, Polenta & Shallot Squares, Polenta with Nectarine-Blackberry Salsa, Polenta with Black Beans, Pan-Fried Tofu & Roasted Coconut Tomato Sauce, Slow Cooked Corn Polenta and Chiles and Polenta Vegetable Casserole.

Creamy Polenta with Barbeque Seitan Sauce
1 1/2 cups water, divided
3 teaspoons tamari, divided
1 large onion, chopped
1 red pepper, chopped
3 garlic cloves, minced
1 15-ounce can tomato sauce
1 tablespoon sugar
1 teaspoon chili powder
2 tablespoons apple cider vinegar
1 tablespoon peanut butter
1 teaspoon stone-ground or Dijon mustard
8 ounces coarsley chopped or grated seitan
4 cups cooked polenta (see recipe)
Heat 1/2 cup water and 1 teaspoon tamari in a large pot. Add onion, pepper, and garlic and cook until onion is soft and translucent. Add remaining 1 cup water and 2 teaspoons tamari, tomato sauce, sugar, chili powder, vinegar, peanut butter, mustard, and seitan and cook over medium heat, stirring frequently, for 10 minutes. Spoon the cooked polenta into bowls and top with the sauce. Enjoy 🙂
27 Nov 2013
by marisashealthykitchen
in Home Cooking, Vegan Recipes, Vegetarian Recipes
Tags: almond milk, apple, Apple Cranberry Pie, brown sugar, butter, cinnamon, Cobbler, comfort food, cranberry, dessert, earth balance, lemon, non-dairy milk, sugar, thanksgiving, vegan, vegan cobbler, vegetarian
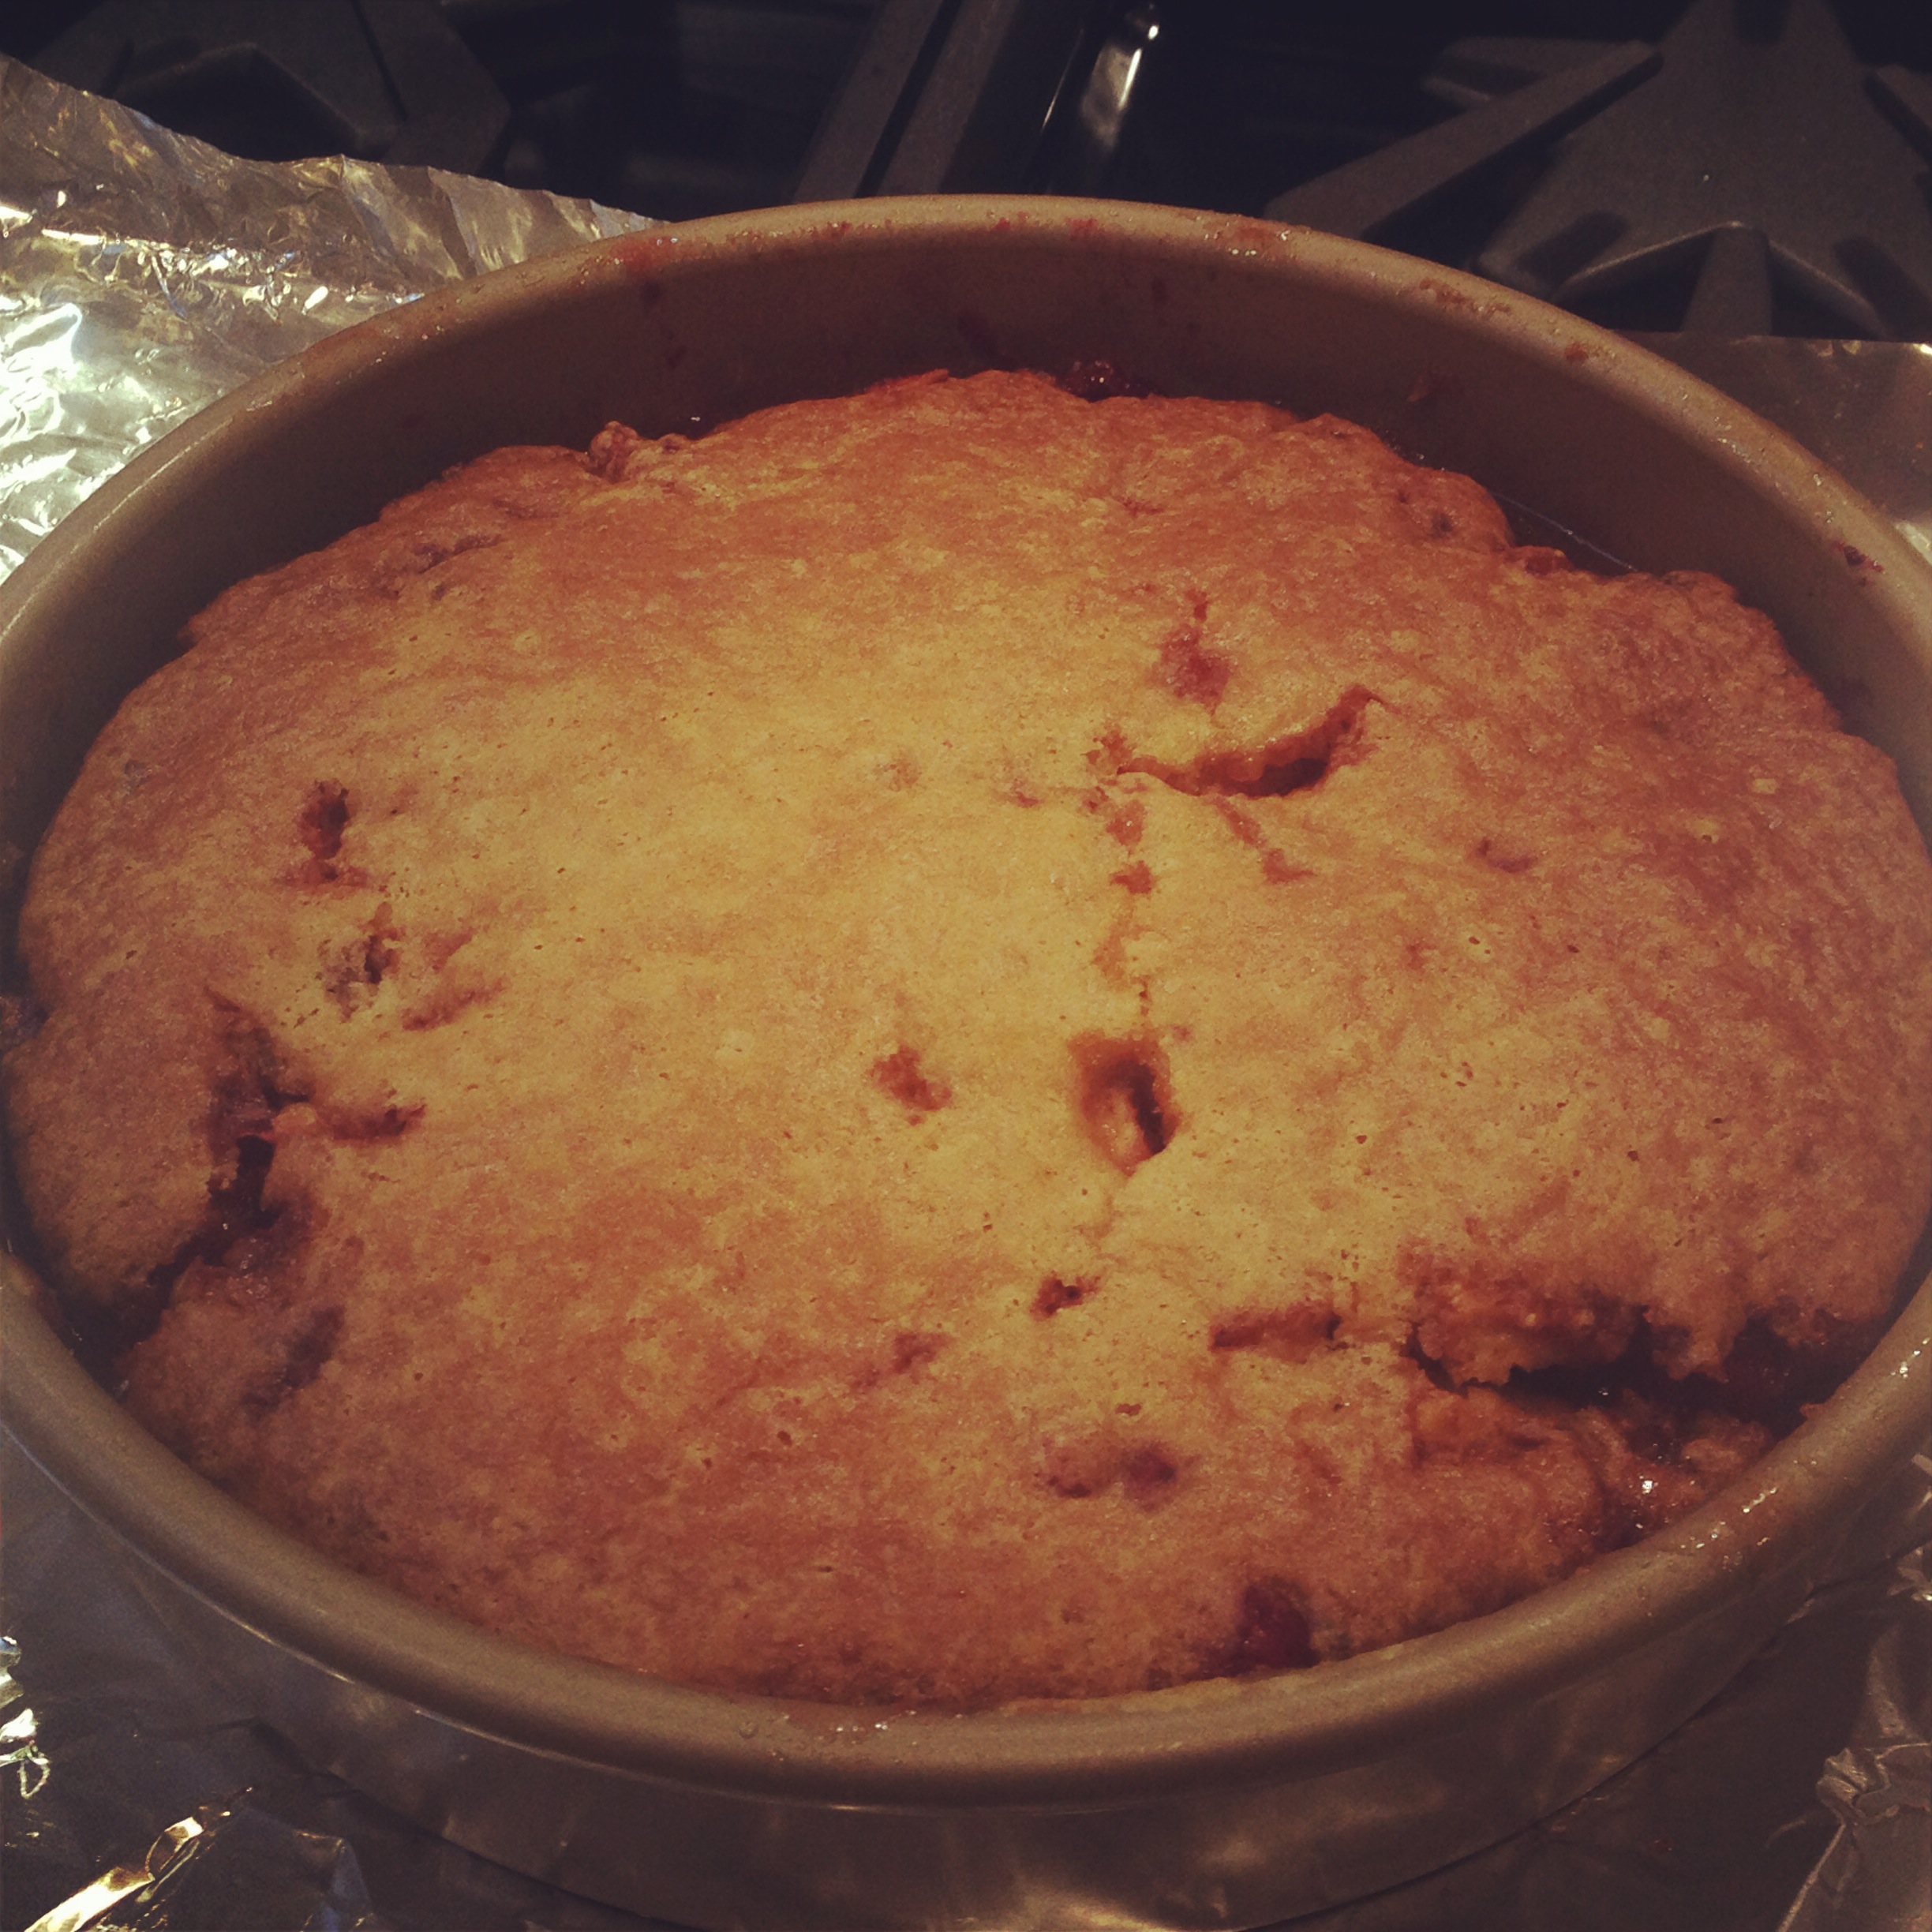
My husband’s favorite dessert ever is cobbler so it was pretty easy to decide what to make when we had so many CSA apples and cranberries! It was super deelish!!!
Have a wonderful and gentle Thanksgiving!!!

Round 1: I used a pie pan. Loved the height but was so happy I used the baking sheet underneath!

Round 2: I used a cake pan so it wasn’t as high up but barely made a mess 🙂
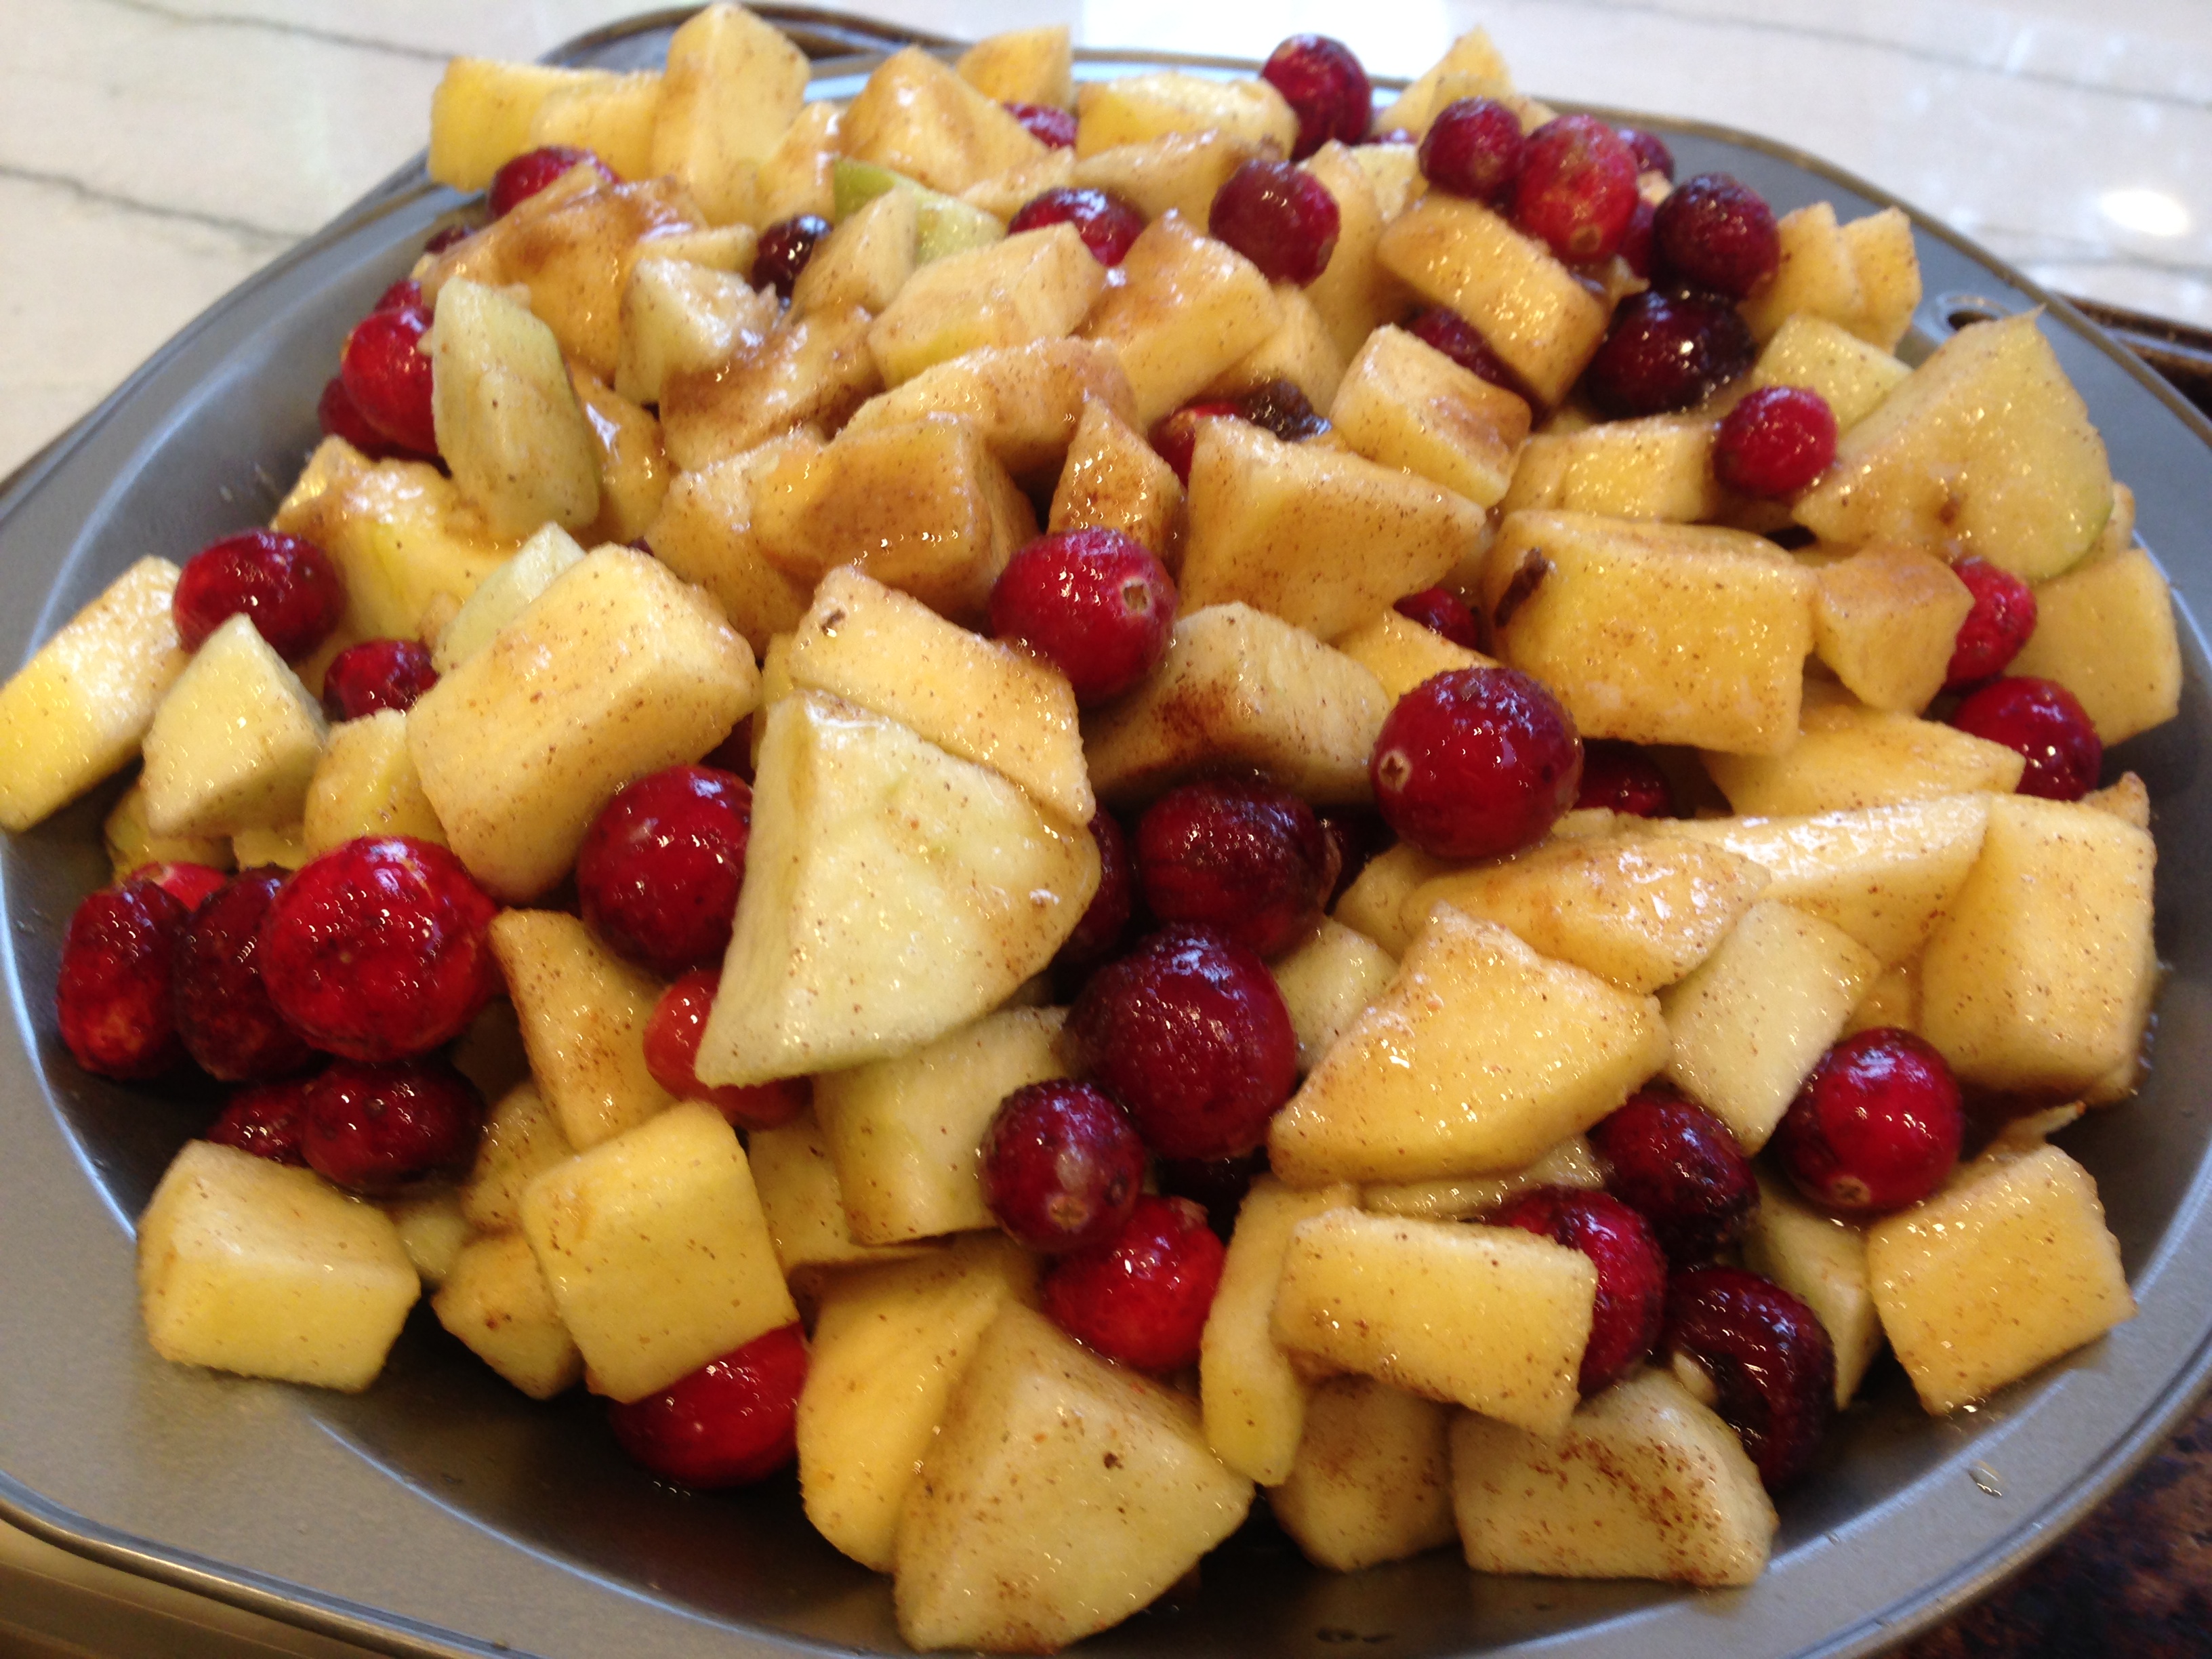
Apple Cranberry Cobbler
Filling:
4 apples, peeled and chopped
2 cup cranberries
1/3 cup white sugar
1/4 cup brown sugar
1/2 teaspoon ground cinnamon
1/8 teaspoon nutmeg
2 teaspoons cornstarch
juice of 1 lemon
dash of salt
8 tablespoons non-dairy butter (we used earth balance)
For the Cobbler Topping:
3/4 cup non-dairy milk (we used almond milk)
1 cup flour
1/2 cup sugar
2 teaspoons baking soda
dash of salt
- Preheat oven to 350 degrees
- Combine the Cobbler Filling ingredients in a large bowl.
- In a separate bowl, whisk together the topping ingredients.
- Melt the butter in a pie dish in oven. Remove from oven and fill with the filling. Pour topping over the fruit.
- Bake for approximately 1 hour (helpful to use a cookie sheet underneath to avoid a mess!), or until the juices are bubbling and the cobbler is golden.

20 Oct 2013
by marisashealthykitchen
in Vegan Recipes, Vegetarian Recipes
Tags: apple, apple cider, apple cider caramel, caramel, cinnamon, corn starch, dessert, dip, entertaining, ginger, lemon juice, maple syrup, sauces, snack, sugar, vegan, vegan caramel, vegan shortening, vegan sugar, vegetarian
No I am not joking with this! SOO good! This is one of those awesome desserts that no one would believe is actually vegan 🙂 Perfect for this beautiful Autumn Apple Season!
I whipped up the caramel sauce, sliced some apples and deelish!

This is just a basic recipe that you can then play around with for many variations.
- You can change up the cider to another liquid (chai, vanilla soy, pear juice, coconut milk, tea, etc)
- Use 1 tsp to up to 3 Tbsp corn starch – the more you add, the thicker the sauce will become. (I am going to use more next time since as it warms up out of the fridge it became a bit runny – see picture below)
- The lemon juice is optional but really complimented the warm apple cider flavors quite nicely.

Vegan Apple Cider Caramel sauce
recipe from kblog.lunchboxbunch.com (love this site!!!)
1/2 cup apple cider
1/2 cup vegan shortening (I used Earth Balance shortening sticks)
1 cup vegan dry sugar
2 Tbsp maple syrup
1-3 Tbsp corn starch (I used 1Tbsp – next time more – see above)
1 tsp ginger powder
Dash cinnamon
2 Tbsp lemon juice
pinch of salt (opt’l)
1 tsp molasses (opt’l)
1. Dissolve the corn starch into the cider.
2. Add the cider/starch to a sauce pan with the other ingredients. Bring the mixture to a boil – stirring constantly. When the bubbling becomes intense, reduce to medium heat and continue stirring until the mixture thickens a bit. Optional – use a food processor or (better) an immersion blender to add some air into the sauce. If you don’t have anything to whip the caramel with it will still turn out fine – just a bit less airy.
3. Remove from heat. Pour the sauce into a bowl and chill in the fridge for at least an hour. Once chilled, use sauce as you wish in recipes!

24 Feb 2012
by marisashealthykitchen
in Home Cooking, New York Highlights, Vegan Recipes, Vegetarian Recipes
Tags: artichoke, broccoli, capers, comfort food, corn, daiya, dough, eggplant, flour, garlic, herbs, homemade, marinara, mushrooms, non-dairy cheese, olive oil, olives, onion, pala, pepper, pesto, pizza, sauces, sausage, soy, sugar, sun dried tomatoes, tempeh, tofu, tomato, tomatoes, vegan, vegan cheese, vegetarian, viva, yeast, zucchini
Who doesn’t appreciate a good slice, especially here in NYC where pizza is so very important and such a point of contention – even for vegans! Our favorite place to order from is Viva Herbal Pizzeria where we can get spelt or gluten-free crusts with daiya and even vegan sausage as toppings (our personal fave combo!) Pala Pizza also has great vegan options and that brick-fired pizza taste, yum!
Sometimes it is easy to buy dough and tomato sauce quickly whip up a pie at home, but if you are interested in making your own dough, here is a great recipe! My mom made the dough and I added the homemade sauce (thanks mom!!). It was really very very good!
Check out here for some of my other fun pizza nights 🙂 Flatbread Pizza with hummus, green olives, cherry tomatoes and za’atar (this is a raw one and Well Worth the effort!), Raw Eggplant Pizzas and the quick at home whipped up kind with purchased dough.

Vegan Pizza with Homemade Dough & Daiya Cheese
Pizza Dough Recipe
- 3 1/2 cups unbleached all-purpose flour
- 1 tablespoon finely ground sea salt
- 1 tablespoon olive oil
- 2 1/4 teaspoon dry yeast (1 packet of dry yeast)
- 1/4 teaspoon sugar
- 1 1/2 cup warm water
- Pre-heat oven to 500 degrees (if using a pizza stone – place in the oven to get hot and heat for an hour)
- Mix together the warm water, sugar and yeast. Put aside to get foamy. If it does not foam then the yeast is not good – redo this step.
- In a separate bowl mix all of the other ingredients. Add in the yeast mixture and mix well until dough forms a ball. Place the dough on a lightly floured surface. Knead the dough – Use the palm of your hand and keep pressing in and folding it over and repeating for about 5 minutes.
- Divide the dough into 4 – one pound balls. Place these dough balls into containers and cover the container with anything that will keep the air out. Set the dough to rise in a warm spot for at least 45 minutes. (you can freeze any unused dough after rising*)
- Prepare your topping. Stretch out the dough and aim for it to be even thickness all around. Top your pizza and place in the oven. Bake for 8 minutes. Let it rest. Add any herbs to your pizza afterwards.
*If using frozen dough – allow dough to defrost in fridge 12 hours
- Either use a jar of Marinara Sauce or make your own
Basic Sauce Recipe
- 28 ounce pureed tomatoes
- sugar to taste
- salt to taste
- 3-6 finely grated fresh peeled garlic cloves
Mix all the ingredients together.
Topping Suggestions:
- Mushrooms
- Onions
- Fresh or Roasted Garlic
- Broccoli
- Sweet Corn
- Peppers
- Olives
- Fresh Tomatoes
- Sun Dried Tomatoes
- Grilled/Fried/Baked Eggplant
- Grilled Zucchini
- Roasted Red Pepper
- Capers
- Saute Spinach
- Pesto Sauce
- Artichokes
- Soy Pepperoni or Soy Sausage or Tofu/tempeh
- Daiya Vegan Cheese or other vegan cheese
- Herbs

Unbaked Pizza
03 Aug 2011
by marisashealthykitchen
in Home Cooking, Vegan Recipes, Vegetarian Recipes
Tags: agave, Cobbler, comfort food, dessert, earth balance, flour, nutmeg, peach, pie, snack, soymilk, sugar, vanilla, vegan, vegetarian
When we were out in Sag Harbor we went to every farmers market in the Hamptons. SO many fresh and colorful fruits and veggies 🙂
One of the markets we went to,
The Milk Pail in Water Mill had beautiful peaches, so I couldn’t resist the 5 pound bag. Two years ago I had done the same thing (
we had actually got to pick the peaches then) and made
Raw Luscious Peach Cobbler. This year I figured although we LOVED that cobbler, to try a baked version. Michael’s absolute favorite dessert is cobbler so I always love to experiment with it. I looked up some different recipes and here is my interpretation. Yum!!!
Vegan Peach Cobbler Pie
makes 2 cobbler pies 8x8ish or round pie pans
Sauce
1 cup flour
3/4 cup white sugar
2 teaspoon baking soda
3/4 cup soymilk
4 teaspoon vanilla
Crumbles
3/4 cup vegan butter, melted
1/2 cup white sugar
1 teaspoon agave nectar
pinch of sea salt
2 1/3 cup flour
Peaches
7-9 peaches, sliced or chopped
1/2 cup agave nectar
1 tablespoon nutmeg
- Pre-heat oven to 375 degrees.
- Toss the peaches with the agave and the nutmeg in baking pans and set aside.
- Mix all the sauce ingredients together until smooth and pour over peaches.
- Combine the crumbles ingredients into a crumbly dough with your hands. Sprinkle on top, completely covering the peaches and sauce.
- Place in the oven 35 minutes. Remove from oven and sprinkle another tablespoon of sugar onto both pies. Place back in the oven for 7 more minutes.
- Remove, let cool, and enjoy!


